


Hi my name is Michael Wilde. I’ve been in the VFX industry for over 6 years, and have worked as a modelling and texture artist at DNEG and MPC.
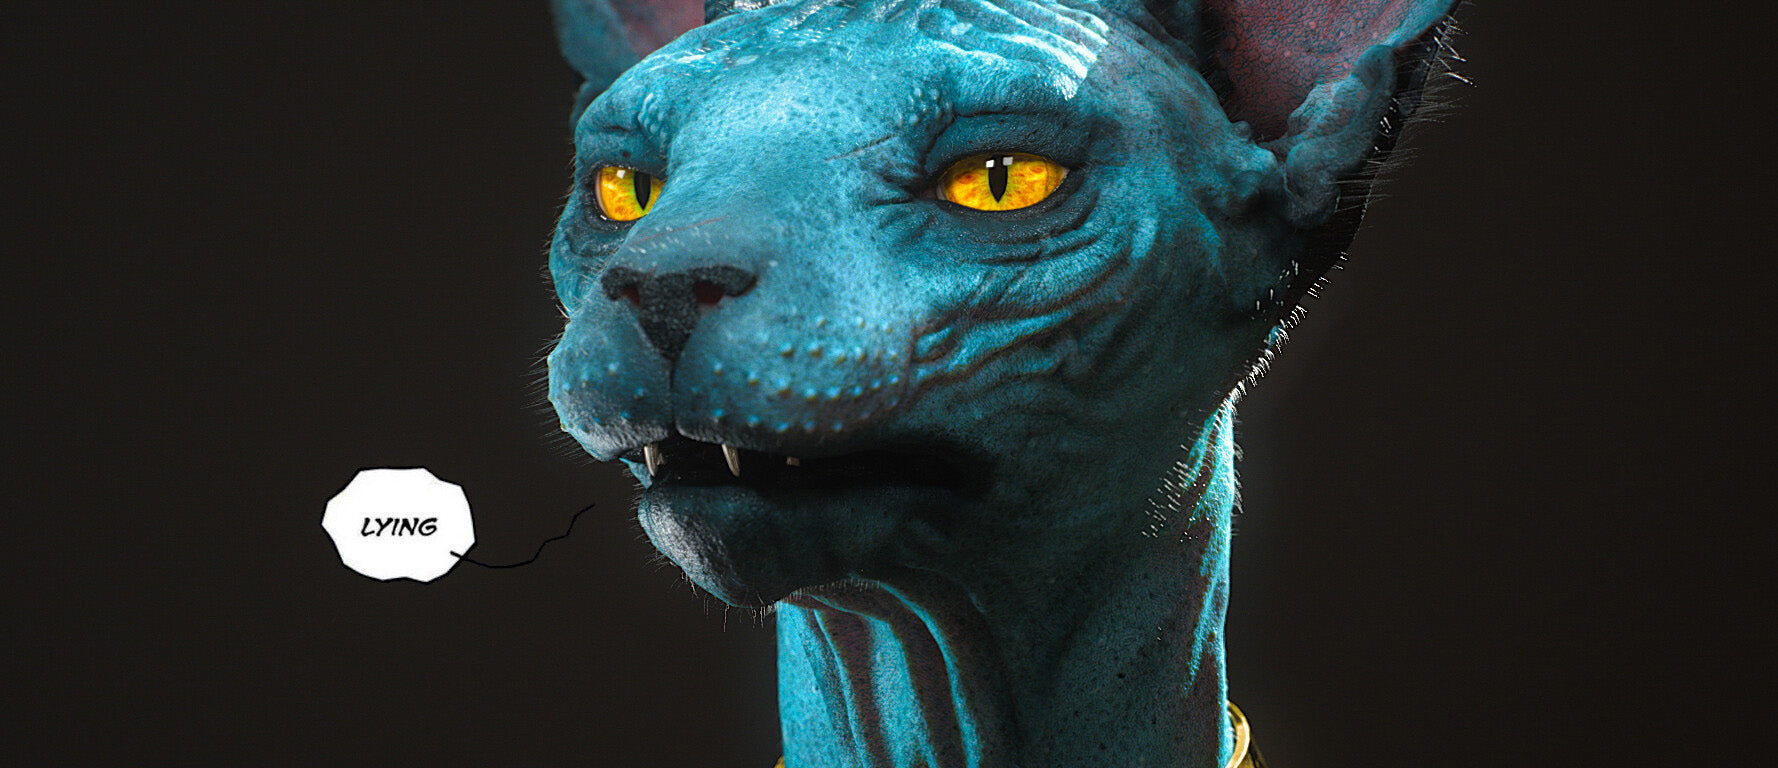
I’m here to talk about how I created my latest personal work - Lying Cat, a 3d version of a really cool character from the comic book Saga. I also created a Youtube Tutorial Series about it, so for an even more in-depth look check that out here.
I’m going to run down my workflow and how I used the Thanos Bundle and some tileable skin textures to help me reach a higher level of detail in my latest work. It was an interesting project as I used human skin to texture a cat-like creature.
While texturing.xyz has some animal scans on their site, the best match seemed to be human skin, but I had to be quite specific about which bits to texture with.
Since the skin was going to be such a big part of this asset, I decided to create the displacement before creating any other maps. This way, I could use the height data as masks to inform my Diffuse Colour map, and other secondary maps like Spec Roughness.
Getting your displacement and colour data to match up really helps sell skin.

My first step was to combine the UHD (Ultra High Def) texture channels into a single image which I could split out in Mari later on. The 3 maps you are provided within the packs give you different amounts of displacement fidelity so being able to paint them all at the same time on top of each other gives you more options when texturing and lookdev.
For more details on that, there is an in-depth tutorial here provided by texturing.xyz which explains how to use photoshop’s blend modes to combine them all. After combining them, I chopped the images up into multiple parts and scaled them down to 30%. You get very large images which give you really great amounts of resolution, but even with 8k tiles in Mari, using the images at 100% was too much.
After bringing those into the Mari Image Manager I can start painting. By using the images as projections with the Paint Through tool I was able to really quickly build up a base. I would use a Color Switch node to shuffle out only the Red channel (the displacement) and add it to the bump slot of my Mari Shader. That way I say in real-time how my texture is looking if there are any obvious seams or lines and how it compares to reference.

By matching up areas of the textures, like creases and spots with my model I was able to build up a displacement very quickly which I was pretty happy with. It’s important to not use a really soft brush when painting displacement, otherwise you will get weird blending in places giving you blurred results at render.
I found myself using the Men’s face from the Thanos Bundle the most. The bumps under the neck, presumably from shaving, looked pretty similar to the cat skin reference I collected and so I picked and chose areas on all the different scans that matched the different quality of feline skin.
Once I finished with the projection, I exported this texture and using Jake Harrell’s Multi UDIM importer I was able to sculpt on top of it in Zbrush, accentuating some details or adding extra creases and details that lined up with the projection.

As well as the projection, I also used some tileable textures from XYZ to create a more procedural skin setup that I could layer on top to provide breakup or cover any projection seams quickly.
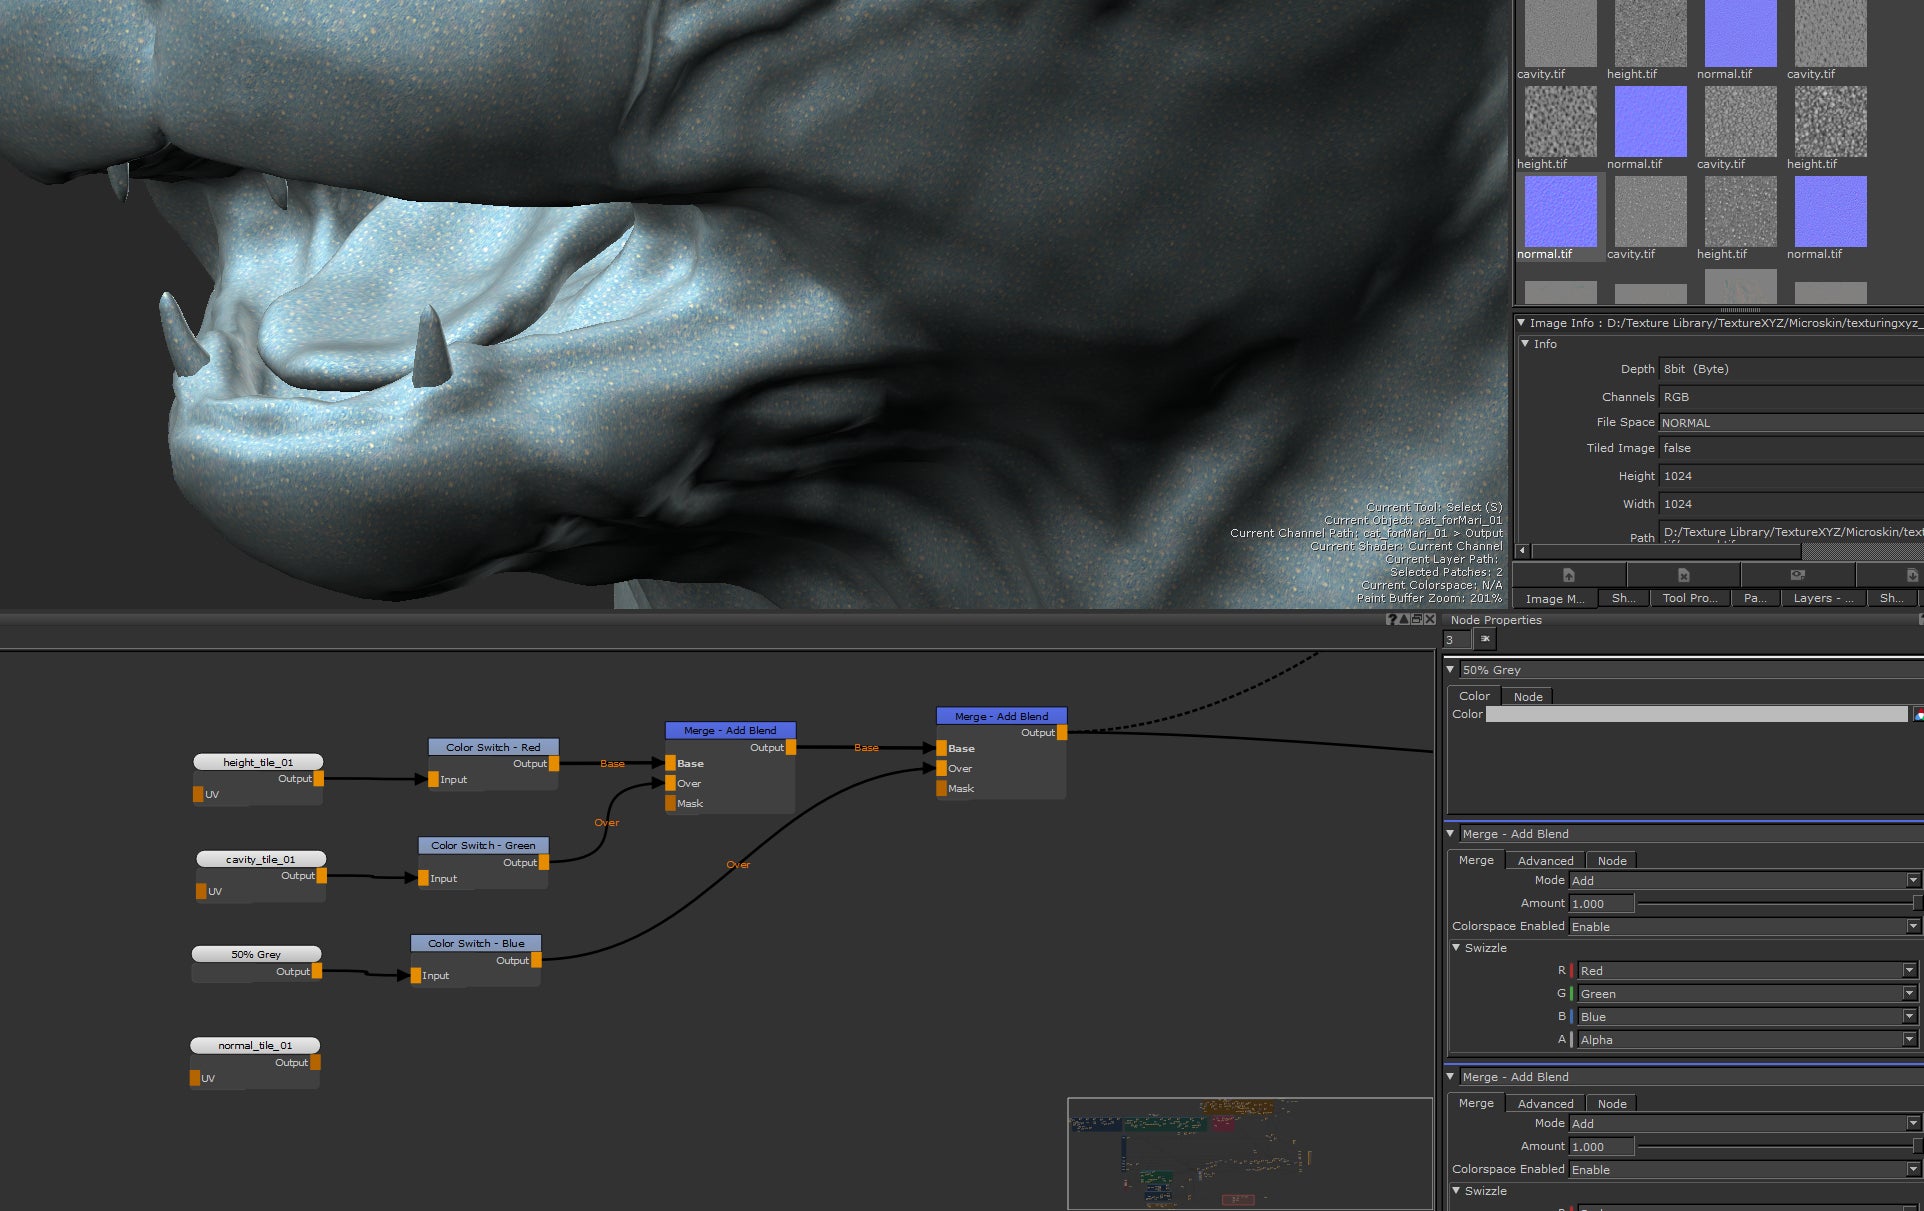
It’s also handy to incase there are any gaps in the projection, the tiled version can sit behind to plug the holes. By importing the 3 different channels for each tile (the displacement, cavity and normal) and making sure the tiled texture settings were the same I was able to merge the disp and cavity into the red and green channels respectively so they could combine with the UHD textures I had setup already in photoshop.
I used a 50% grey node to merge into the blue too so it was not empty and would merge consistently with the projections. I was also able to use the normal map details on top of the zbrush normal map I exported from my sculpt.
I liked using the tiled textures, I found Cheek #15 looked similar to the reference of cats I had collected and Cheek #37 looked similar to the stronger displacement of a cat’s nose. You can see in this gif how the nose is a different texture (the tiled node) cranked up higher to give me more displacement.

After creating a displacement I was fairly happy with I was able to use the green channel (cavity) to start creating my colour texture. I exported a cavity, occlusion, smoothness and peaks & valley map from Zbrush too to give me as many masks to work with as possible.
I created a base flat colour and started layering up details. My first was a simple tiled texture that used the smoothness as a mask to add breakup to the rough bits. I then merged over darker colours around the eyes and ears to match reference and the character.
I added lighter spots to the forehead and bumps around the nose using the peaks and valleys mask from Zbrush. This all looked good but a bit flat closer up. By using a level on the cavity mask of the displacement I added an overlayed grime textures into the crevices of the skin to help add some macro detail which really helped in the final render. Below is a gif of the main texture additions.

Here’s a close up of the diffuse texture. It’s quite a noisy close-up, but when added to the final shader with the SSS it softens out quite a lot. I would often change the opacity of the merge nodes in Mari to add more or less contrast till it was just right in the render:

I tried to keep it as procedural as possible, but some masks such as the eyes and mouth dark parts had to be hand painted. The model did change a few times during creation but since the UVs stayed fairly similar it meant very little repainting.
"By using tiled textures to break up masks, rather than hand painting breakup, and relying on the texturing XYZ and Zbrush masks as much as possible those changes were pretty painless."

To create the secondary maps, like Spec Roughness, I took my diffuse and using nodes like levels and desaturation to adjust it to something that worked. By hooking my channels up to the Mari shaders I was able to do some of the lookdev inside of Mari. I used additional layers multiplied ontop around places like the eyes and nose to make some areas look wetter and dryer.
Once I had a multi-channel displacement I was happy with I exported it and used this script to set up the displacement in Maya for my Arnold shader which was super helpful as I’m not the more experienced lookdev-er myself. The script is great because it lets you mess around with the strength of the 3 colour channels of the Disp so I was able to get a level of fidelity and control a single channel Disp wouldn’t provide. I also combined in my Zbrush Displacement and Normal map to get my sculpted detail in there too.
I was a bit worried about the lookdev of this asset but with a bit of trial and error I got something that I’m fairly happy with. The SSS really helped make the skin, but between that and the eyes it was probably the hardest thing to nail - a lot of test rendering and tweaking sliders! I found the SSS flattened the displacement out, so I spent quite a while nailing values for the intensity of it.

Here’s a GIF of a render of just the displacement, the raw render, and the final comp.
For a full breakdown on how I created the asset see the YouTube video tutorial series here: Creature Asset Tutorial: Part 1
I hope you found that helpful! For more from me and upcoming projects and tutorials you can subscribe to my Youtube channel or the mailing list on my website, michaelwilde.co.uk, and if you have any more questions about how I made this asset get in touch! :)
| We would like to thank Michael for his helpful contribution. If you're also interested to be featured here on a topic that might interest the community, feel free to contact us! |