Bake Zbrush Advanced
| VFace Docs » 3.4.b Bake Zbrush Advanced |
| Version used | 2021 |
| Documentation | Zbrush Docs |
| Community | Zbrush Central |
| 👍️ Pros |
|
Introduction to the advanced method
Now you've baked your model and split the map into channels with our multi-channel map, we will use an advanced technique in Zbrush to store all of your channeled frequencies into different layers you could thereafter tweak at your ease!
| 💡 Tip |
| It is recommended to have followed the Simple texture transfer tutorial before. |


I Prepare the meshes
1. Run Zbrush. Import the source mesh and convert it as a poly mesh.

2. Now import the target mesh, click on append and select the reference mesh to add to your scene.

3. Select your source mesh. Go to the texture map and create a new texture. Then to the UV map and adjust by flipping V.

II Set the layers
1. Subdivide your mesh with CTRL+ D the most possible (up to 16millions for instance).

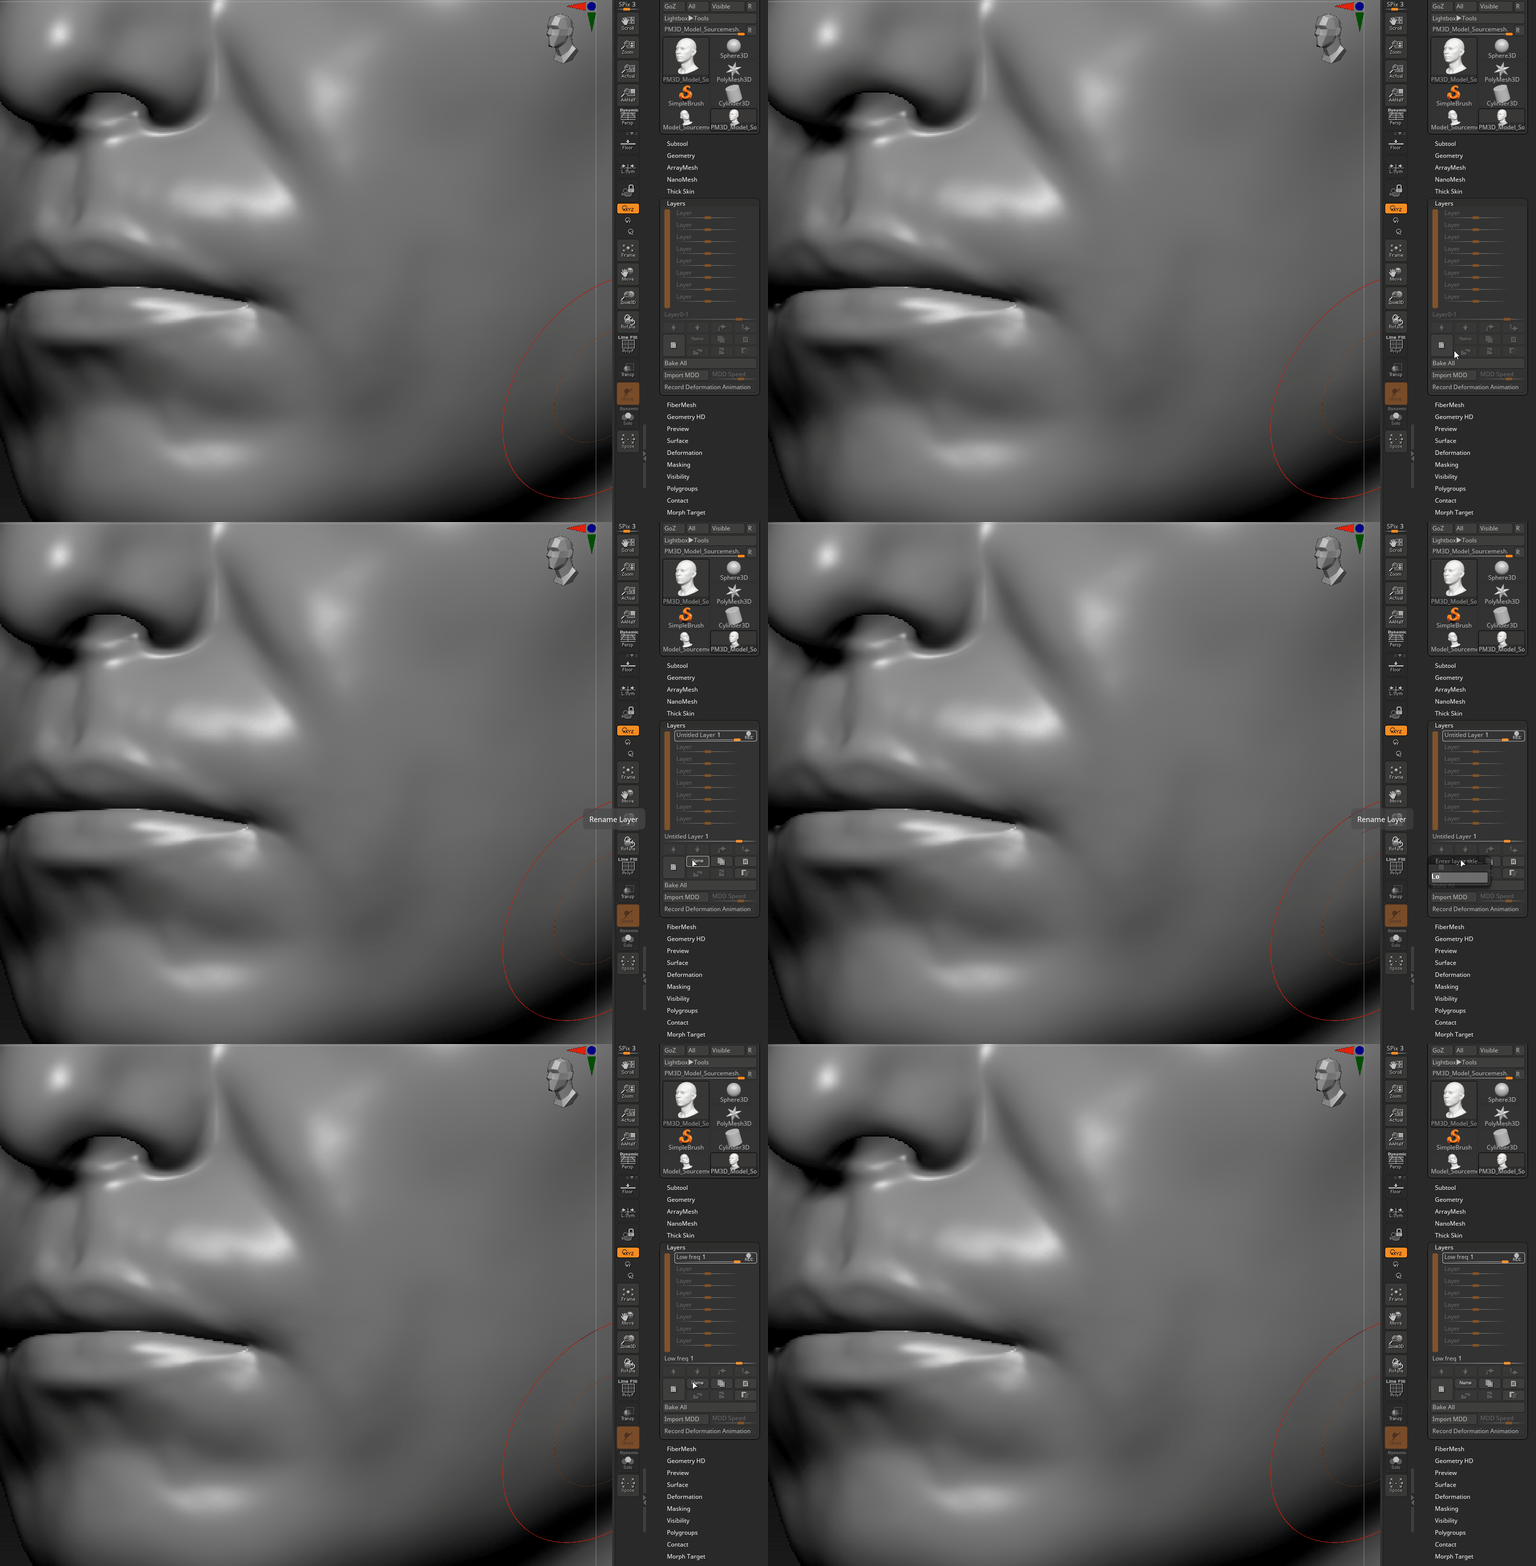
2.a Go to the layer shelf and create a new layer. Name It "Low Freq". Be sure your layer is recording.

2.b. Go to the displacement shelf, then import your R channel map (low frequencies).
2.c. Set your displacement map to 0,02 to make it strong (accurate: 0,013) then click on apply Dispmap.

2.d. Finally, pause your layer. You can now tweak thanks to this layer the level of details for your geometry!

Repeat step 3a-d for the Green Channel (Middle) and the Blue channel (High), setting the accurate amount of intensity for each of them in your layers!

| 💡 Tip |
| You can clone your different maps in the displacement shelf in order to not lose them if you have to restart the process! |
| 🚩 Disclaimer |
| We are using selected software for demonstrative purposes on our own products. We have no commercial contract with the companies and we do not provide assistance for any of them. If you need help with any software, you can click on "Software Documentation" or "Community Support". |


