Salim Ljabli / One punch man head making of
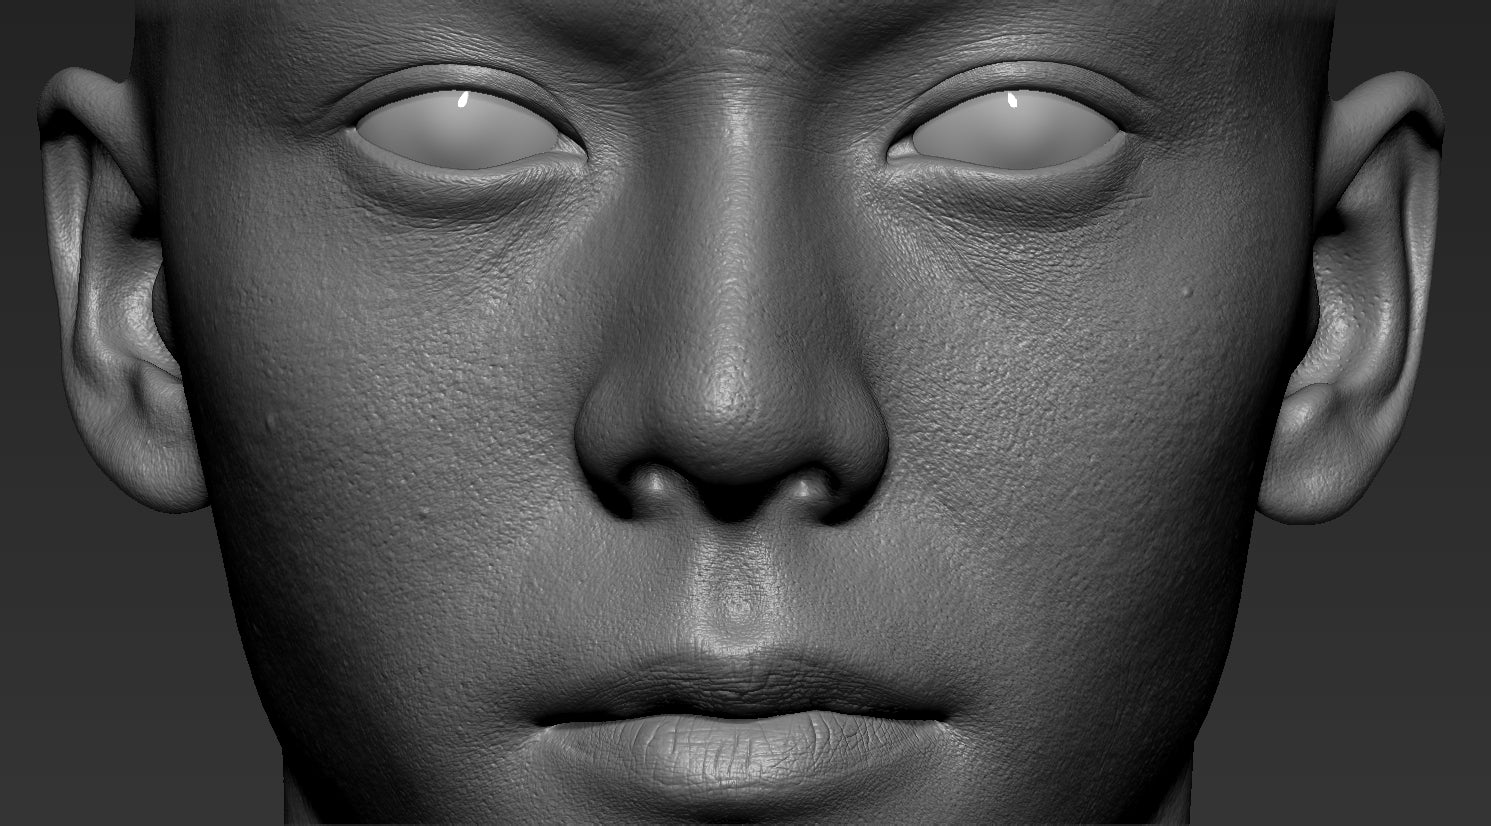
Salim Ljabli is a Senior 3D Artist, with a passion for cars, creatures and characters work. He started his career as a Vehicle Artist in 2006 and uses softwares such as 3ds Max in combination with Vray, Photoshop, Zbrush, Mudbox and Mari.
" Last year I’ve decided to do some hyper realistic portrait and to do all the details by hand to learn and push my skills to the next stage , and it was quite hard to get something believable and looks natural without using references, it has took me around a month of trials and errors to get the skin to looks and feel natural."

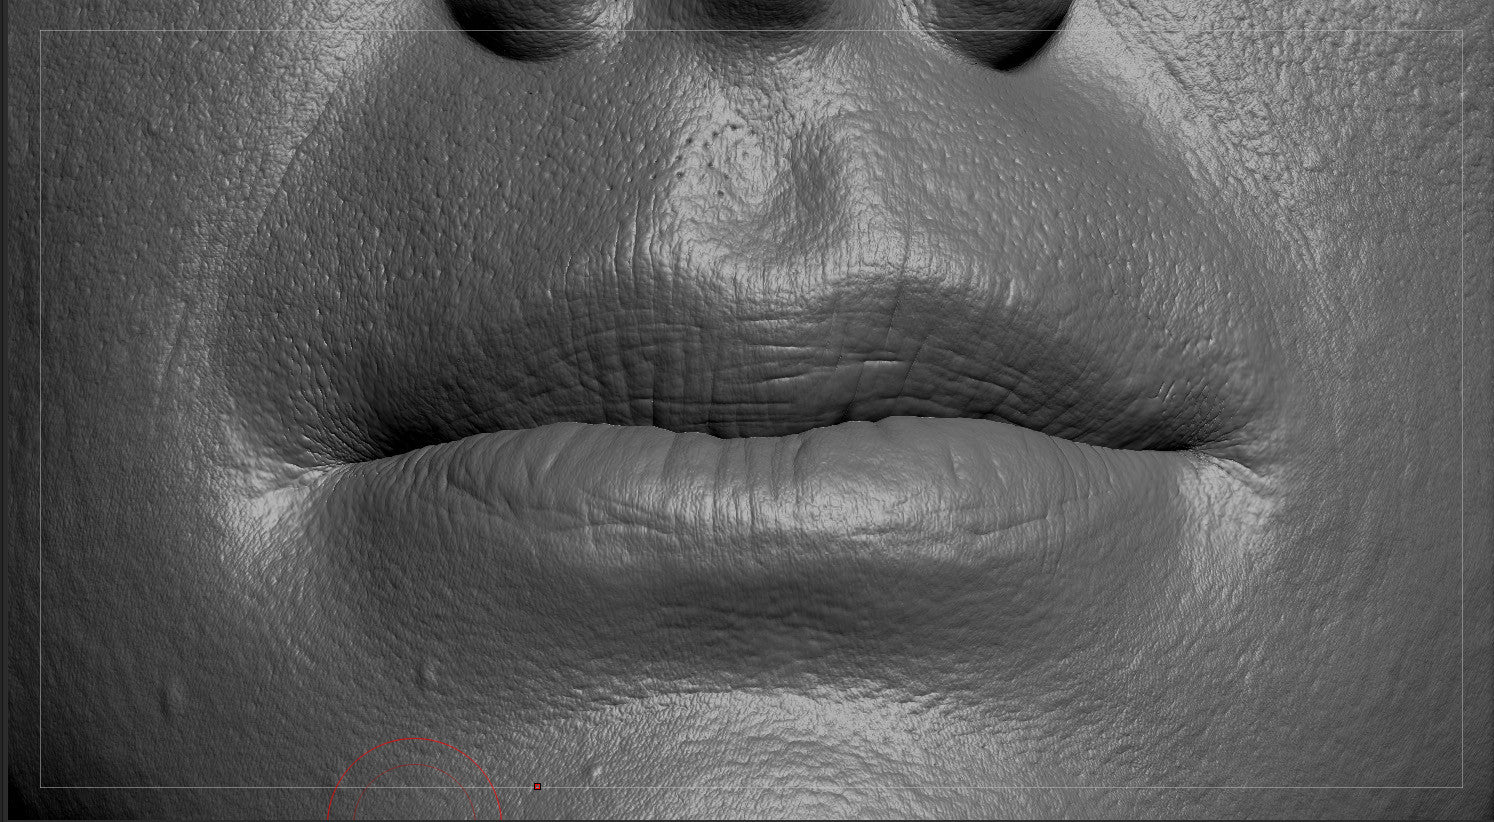
| The overall look and feel of the skin and portrait looks good but if you really dig deep into the structure there are things that are placed a bit wrong and some details doesn’t look quite accurate but that’s also part of the limitation of doing things by hand. |
After you sculpt a model to a certain point you have your likeness and the forms in place, make sure to either retopologize the model and have a proper Uvs, bring the model into Mari.

Once into Mari, make sure to maximize the use of your screen projection by making the Buffer Size to 4k or even 8k if you machine can handle that, but in most cases 4k is good enough. Also make sure your Color depth is set to 16 bit to get the depth and correct values from the disp maps.

For this head, I used the male 30s from the store.
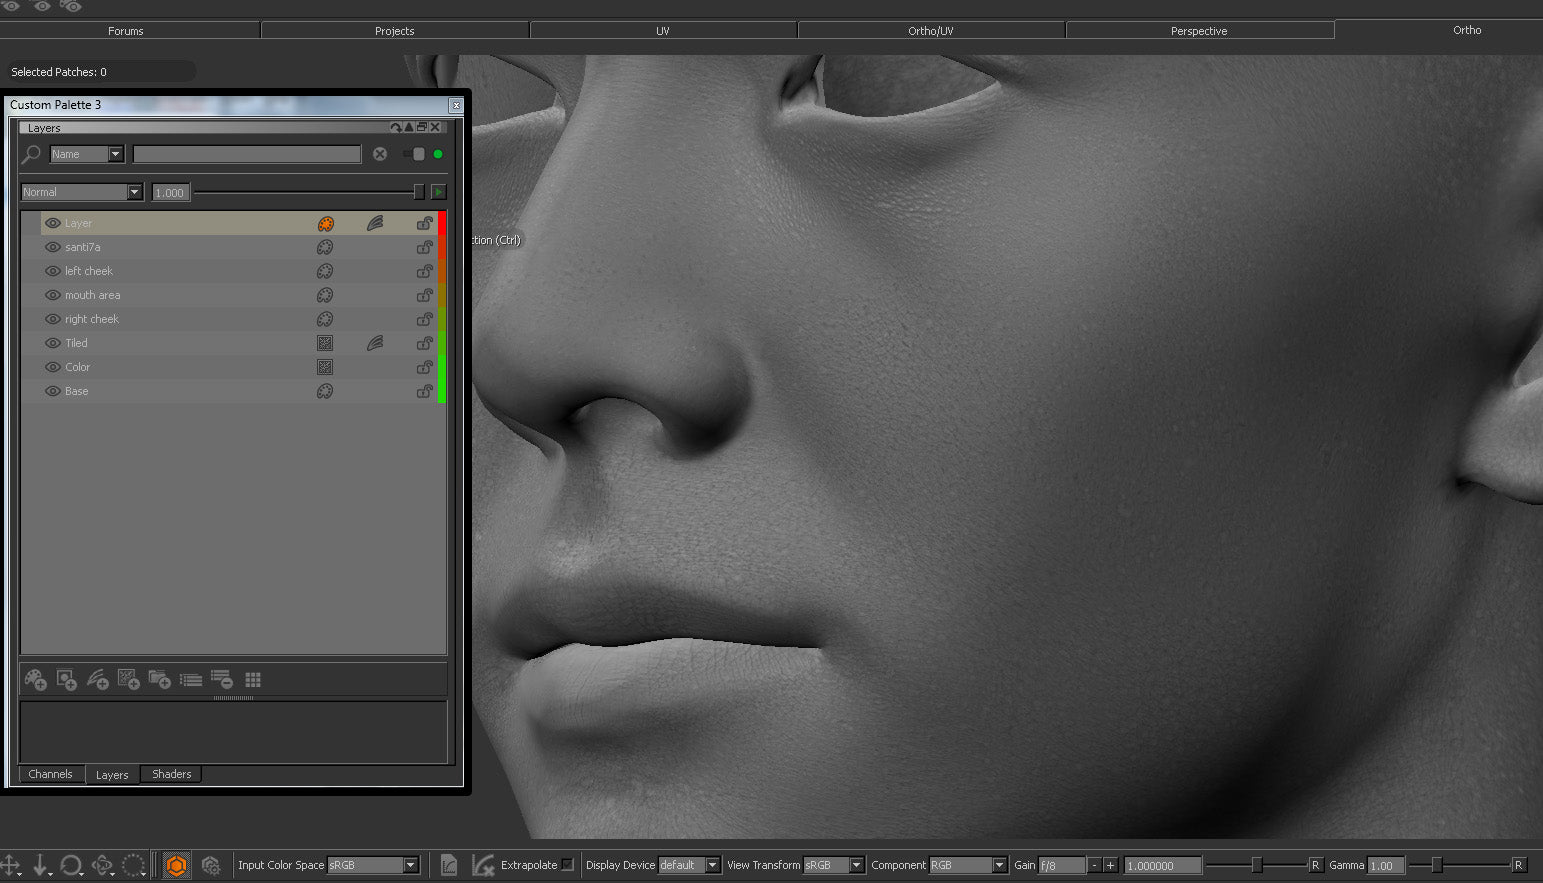
I create a procedural color layer, with a saturated color so it can be easy to spot places where the projections fade or place where I don’t have projections on them .
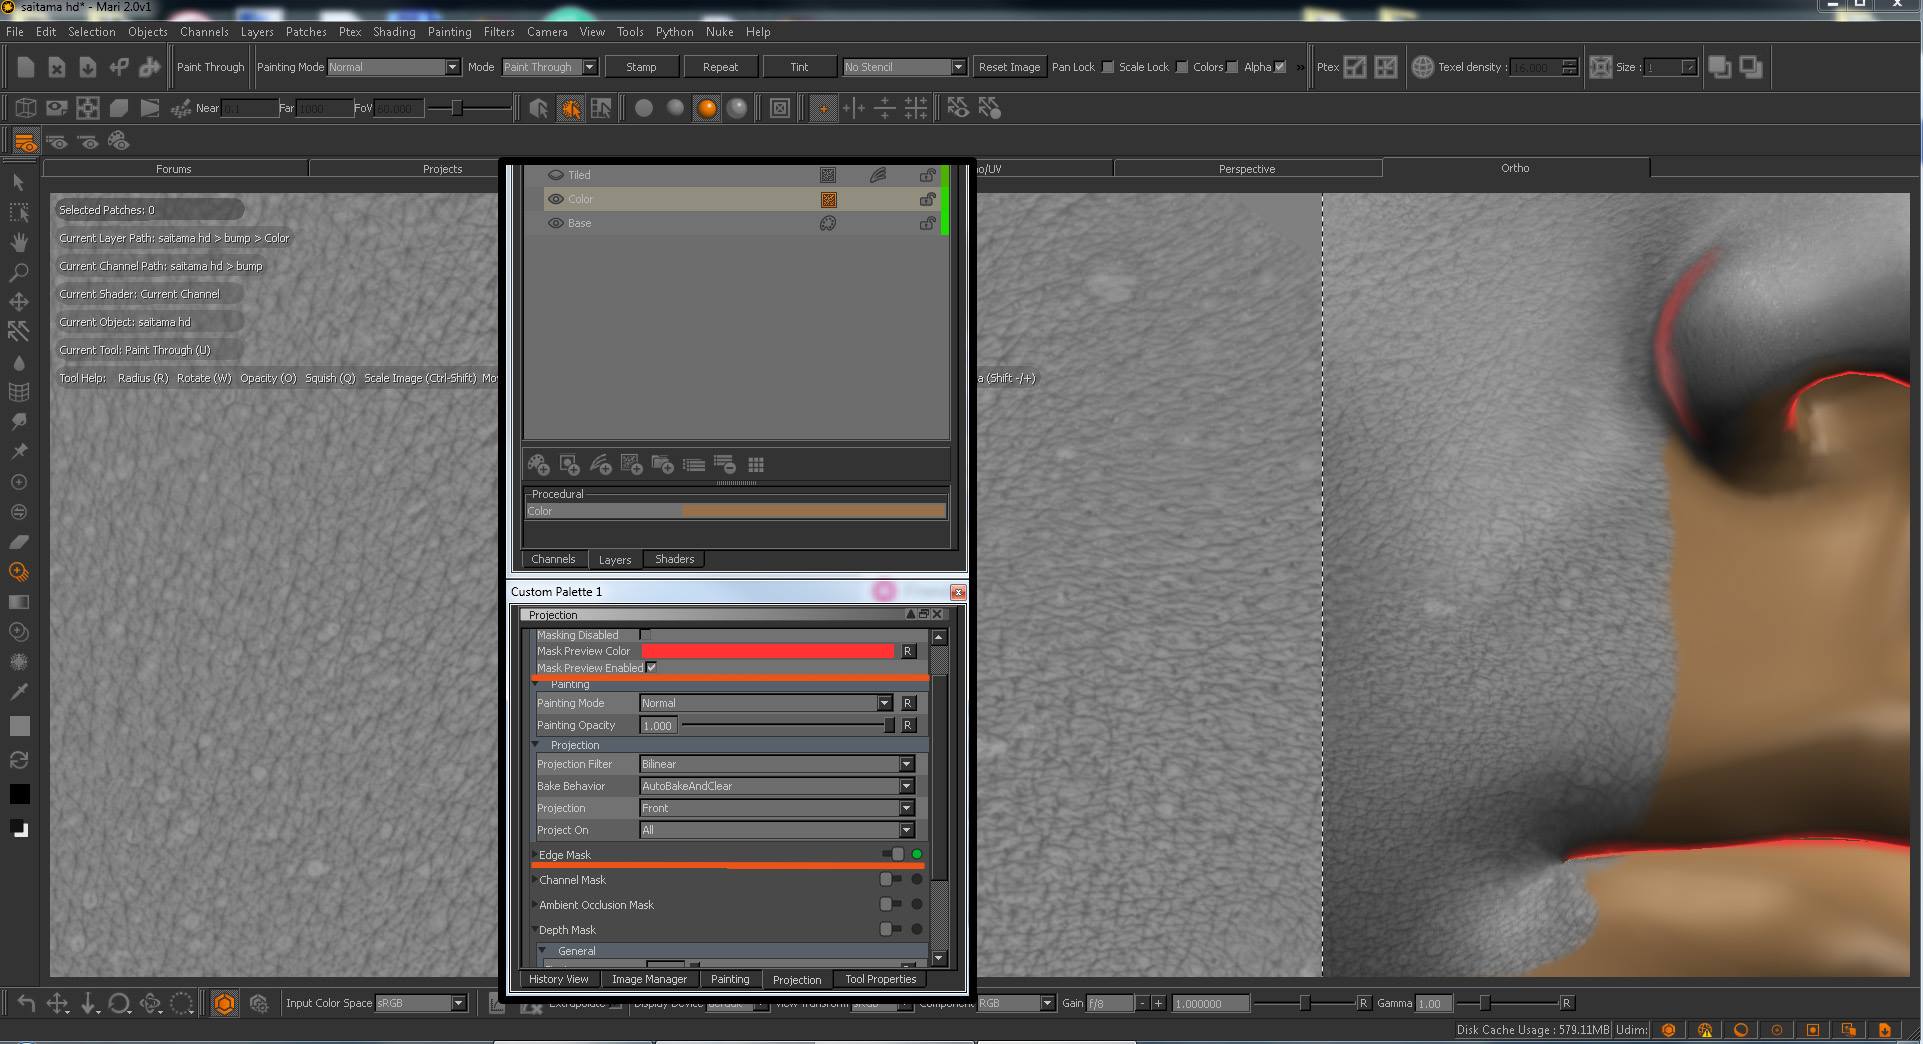
Load the maps into the image manager then make sure the opacity is around 0.6 in the Tool properties => Preview Alpha.
Create a new Layer on top of the color one and start projecting the texture by clicking and dropping the texture from the image manager into the viewport and paint.

You can see the orange color in some area which mean the intensity of the projection there were low.

To fix this there are 3 ways :
- 1st is to duplicate the projections .
- 2nd is to create a layer with a skin patch “ pattern “ a repetitive pattern “ Tiled “which we can place above the color layer .
- 3rd is to repaint on top of those areas.
When you get something you’re pretty happy with, it’s time to export the maps into psd format or tiff or even exr to keep the 16 bit depth in the disp map. Time to take Saitama from "One punch man" to ZBrush again to make his face detailed.

Import the texture we exported from Mari in Zbrush flip it vertically make an alpha from the texture, then you can apply it in different ways : Before start, create a layer for every change or everything you add or do at this stage to keep control over every detail layer you add .
- Use the Displacement Map : pick a good intensity and then apply the disp map “ apply DispMap”.
- use Surface “ noise “ and load the map in there and pick a good intensity then apply.

I’ve tuned down the Base projection layer to 0.5 just to show you..but what’s it’s missing at this stage is more secondary forms and imperfections on the skin surface.

Added 2 layers of variation to the surface one using noise “ surface “ and the 2nd one was by adding surface noise manually with a brush. I’ve added some directional wrinkles using a zbrush brushes too.
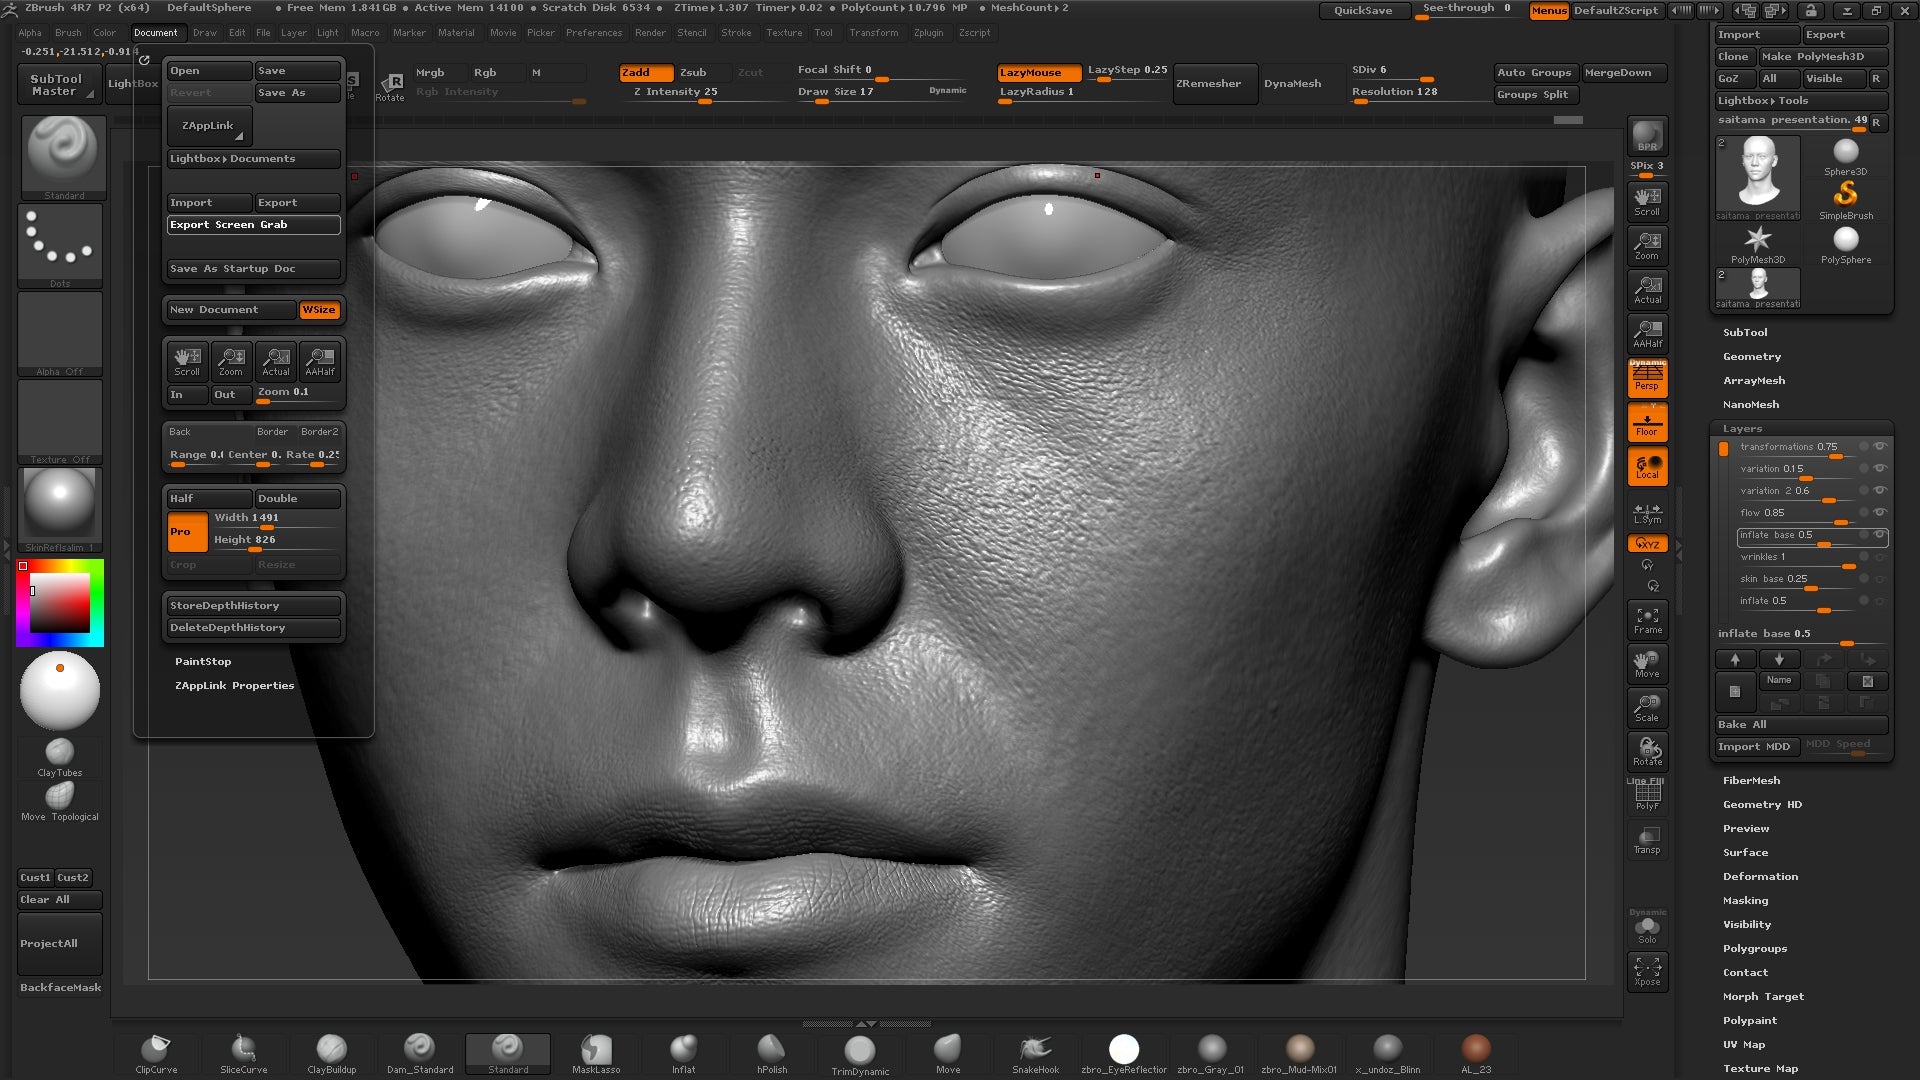
On this layer I’ve masked using alpha “ our exported map is the alpha “ and inflated only some areas where i want more bump and volume into the details. Added some forms and some volumes to some parts and some pores too.
I’ve now turned on our first projection layer and added some eyes folding wrinkles and some wrinkles on the mouth and other regions.

You can also avoid the whole sculpting and detailing process using ZBrush if you use the secondary disp map from TexturingXYZ, you can get all the imperfections on the surface “ your initial sculpt “ and use the same techniques we used to project the tertiary map on our initial model, after that you can add more details or tune down the one from the map.
If you’re wondering how can you get the maps to align well, check out how to do that on their guide. Now our Saitama “ One punch man “ head is finished, unless we decide to add more hand made details but that’s not necessary at this stage.
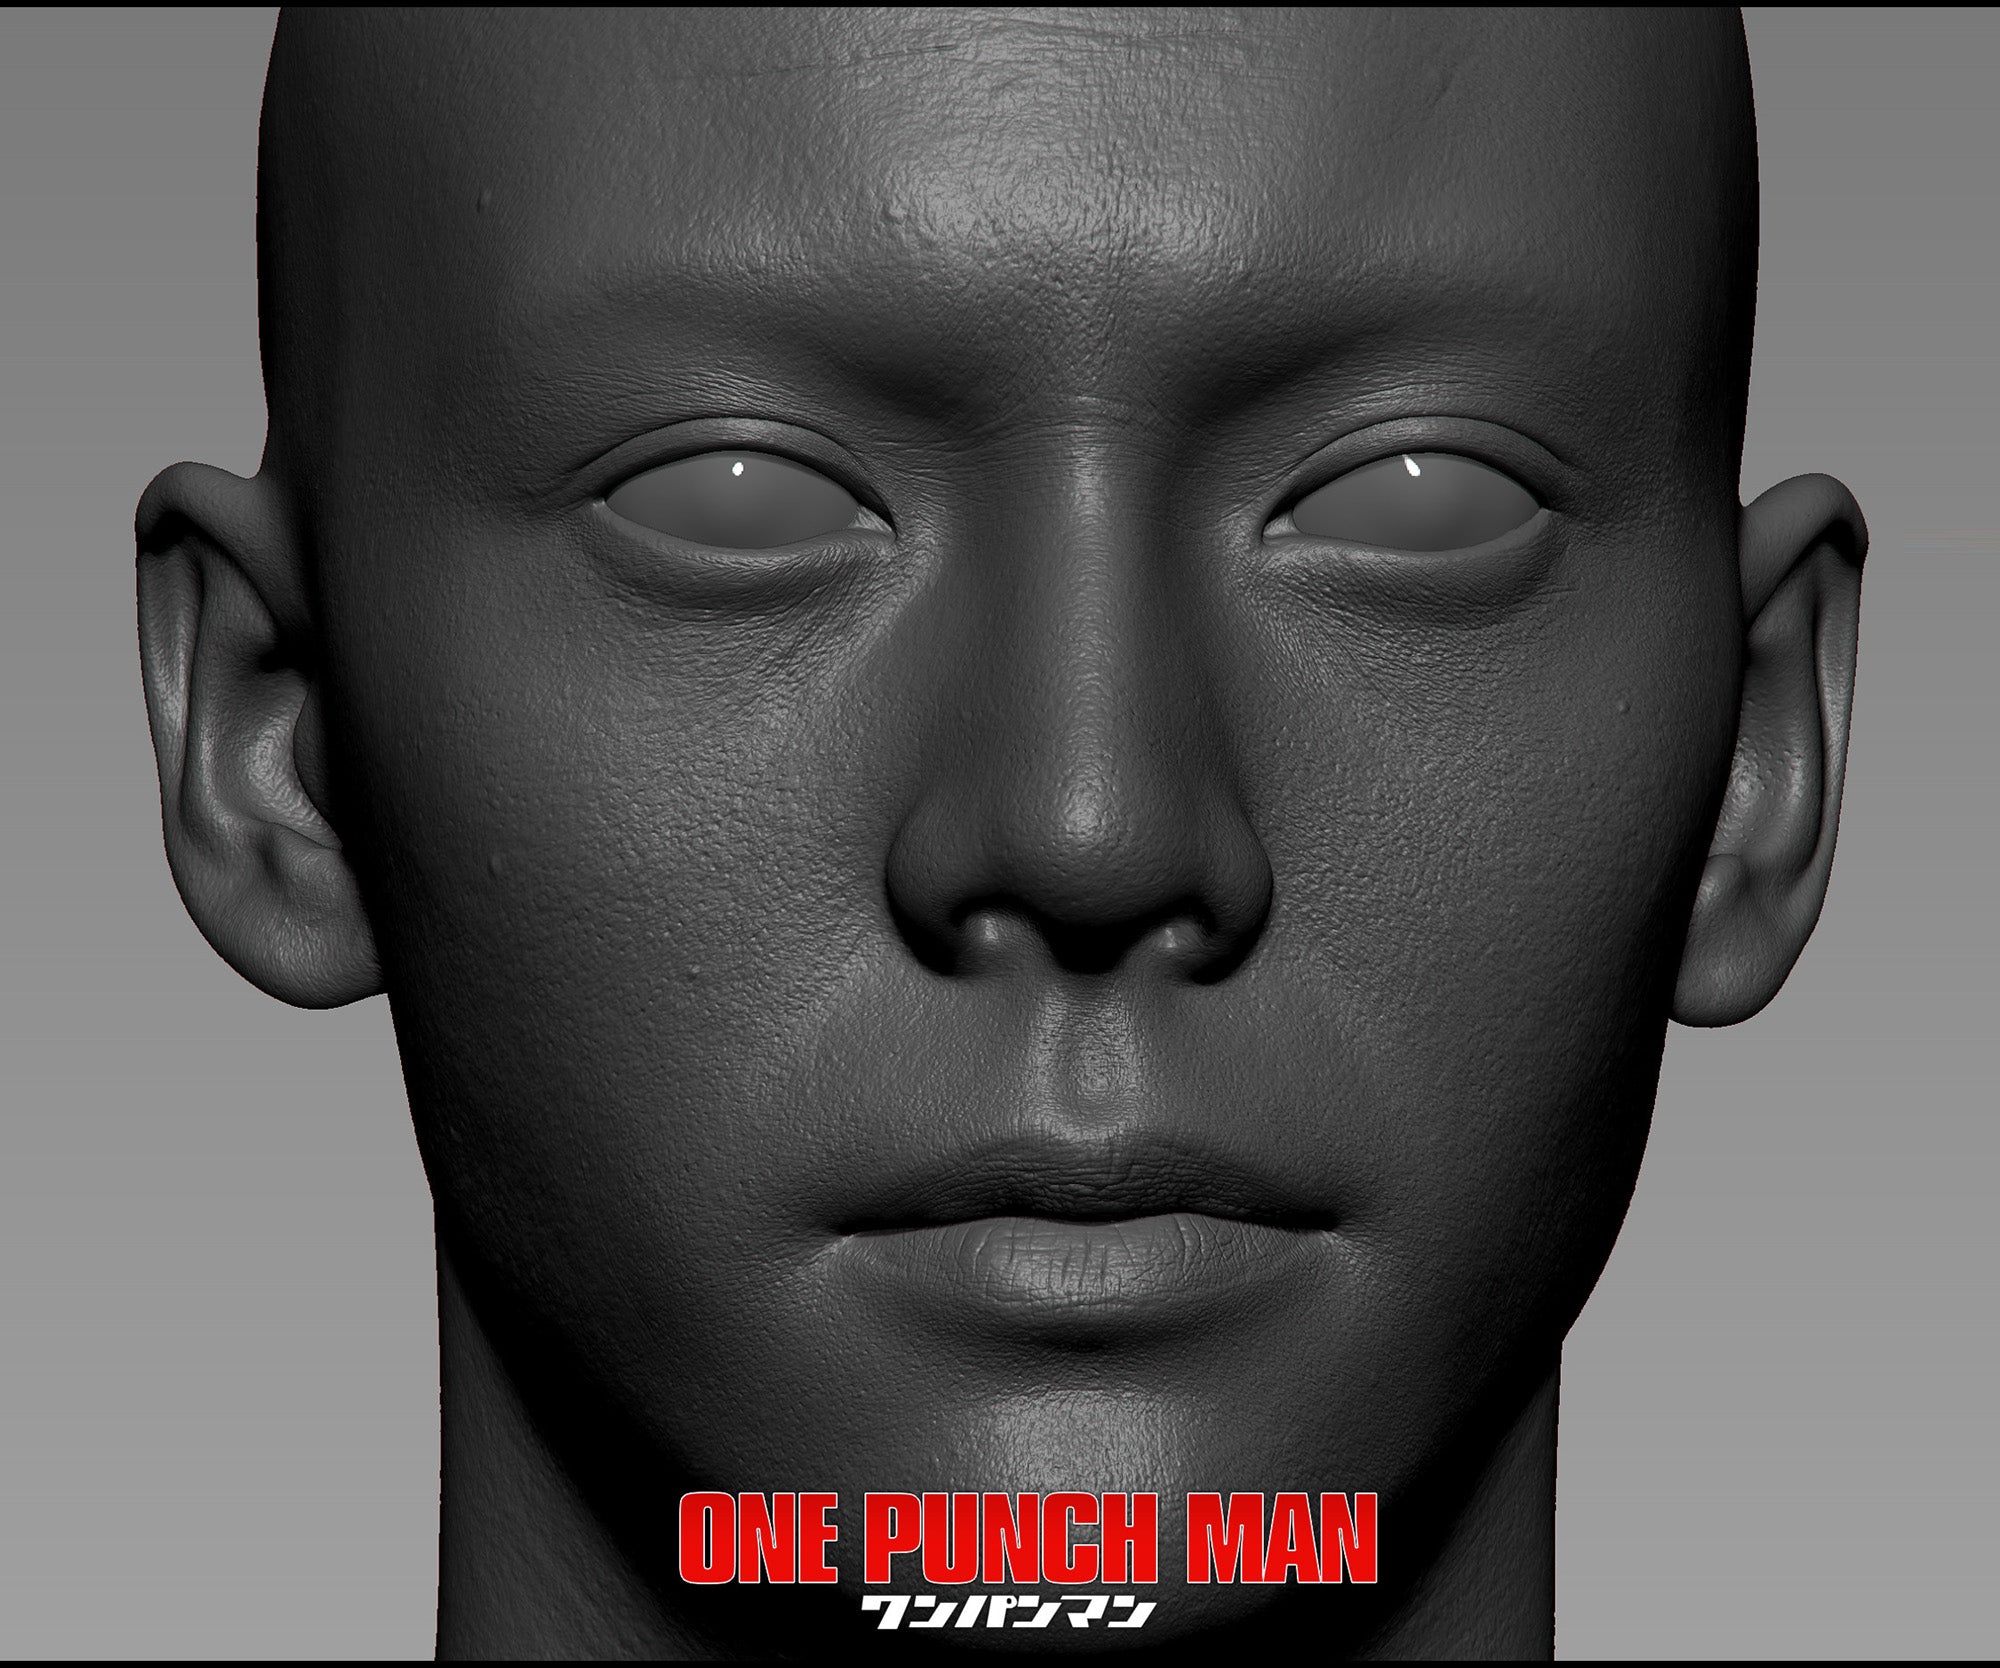
High-resolution image can be found here.
Hope you found this tutorial useful, if you have further questions please don’t hesitate to contact us or use our facebook page.
Always keep in mind this is just one of the many ways on how to use these maps.
Make sure to check Salim's portfolio and Facebook page : https://www.artstation.com/artist/salimljabli https://www.facebook.com/ljabliart


