


Platige Image Spotlight Skull & Bones

Part 1 - Introduction
Platige Image is an award-winning film production, VFX, animation and post - production company based in Warsaw, Poland. We worked for the biggest brands in the world, the best video game publishers and some of the finest film directors.
I’m Mateusz Sroka, Lookdev Artist at Platige Image.
I started my VFX journey when I was 21 years old, so it was a pretty young age for this industry. I’ve been working in the Animation and VFX industry for 5 years. It all started with ‘’Ambition’’, the film for ESA. Then I worked on numerous and various projects.
Among them there are game cinematics for ‘’For Honor’’, ‘’Tom Clancy’s The Division’’, ‘’Skull & Bones’’, ‘’Prey’’, ‘’Watch Dogs 2’’, ‘’Ghost Recon Wildlands’’, ‘’Hitman’’ and ‘’Total War’’. Moreover, I worked on full CG game based movie ‘’Kingsglaive: Final Fantasy XV’’ and short films like ‘’Allegro Polish Legends. The Dragon’’ and ‘’Allegro Polish Legends. Twardowsky’’.
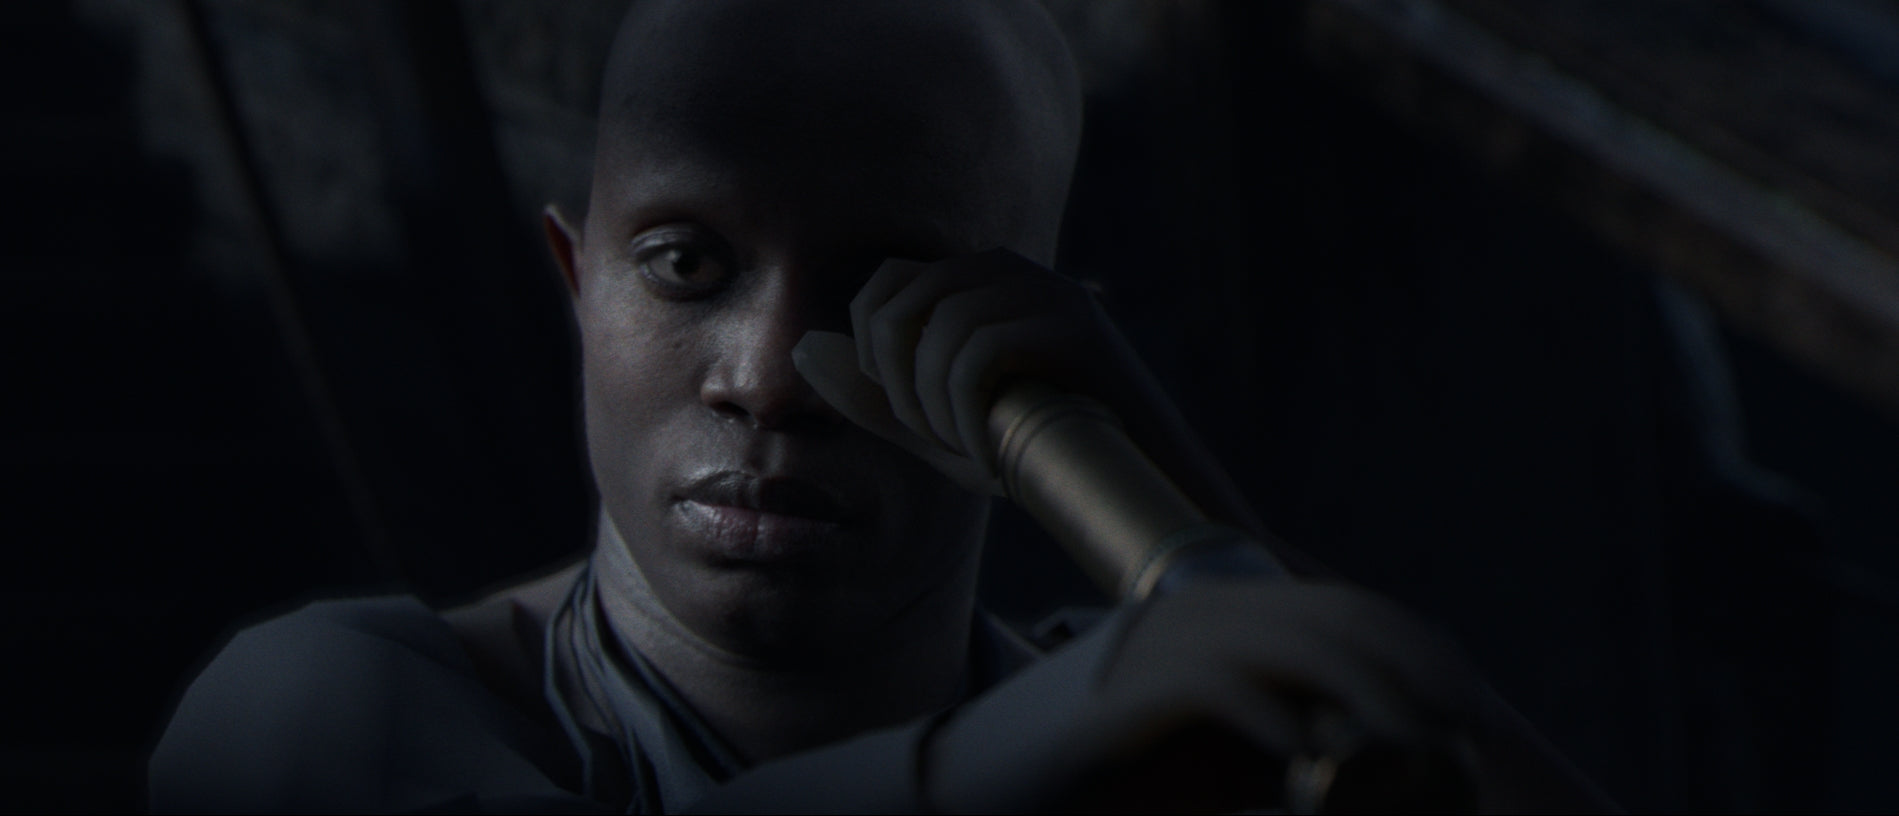
 Main Character Face Lookdev - Arnold Renderer, Nuke with LUT Main Character Face Lookdev - Arnold Renderer, Nuke with LUT |
Part 2 - Skull & Bones Production
I was responsible for Lookdev process for Ubisoft’s ‘’Skull & Bones’’ trailer prepared for E3 in Los Angeles. My job was to create textures and shaders for all the main characters’ faces. Moreover, I worked on lighting, rendering, compositing and creating “look” shots together with Art Director.
 Lookdev Character closeup - hair, cloth, skin with makeup, tattoos Lookdev Character closeup - hair, cloth, skin with makeup, tattoos |
Regarding those textures, how did you work with them?What was your workflow to achieve those results?
We received great quality scans of our real-life actors from Gentle Giant Studios, 16K resolution flat cross polarization albedo maps and 16K displacement with all small details on the face, perfect correct position displacement with albedo maps. It was highly useful for us in order to create realistic characters.
We received base mesh from 3d scanning session, all references from scanning and mocap session as well to match 1:1 with the real actor.
 Mesh from Scanning Session, Zbrush with Displacement Mesh from Scanning Session, Zbrush with Displacement |
 Mocap session (video reference) - studio render using Mocap data from Cubic Motion Mocap session (video reference) - studio render using Mocap data from Cubic Motion |
After preparing models to our pipeline, I’ve started to work on textures and shaders, I loaded all textures in Nuke and resized them to 8K (we don’t need more even for close-ups), then saved all to 16bit exr files with piz wavelet compression for optimization.
Then I prepared all TexturingXYZ pack file and make three big +/- 16K resolution maps 16bit exr with different scale of detail in one file.
 Nuke - XYZ R,G,B Channel merge to one EXR file Nuke - XYZ R,G,B Channel merge to one EXR file |
 |
My next step was to prepare Mari project, where I can see my face in real time Arnold’s shader, and modify albedo, specular, roughness and two displacement textures.
We had base model with all big details on face, displacement map for all mid- and small-size details, but we needed to add some micro details to face - we used XYZ textures to do so.
I painted this XYZ maps on the face, and in Arnold’s real-time shader I connected to bump slots and small detail displacement to displacement slots. Now we can see all details from displacement on the face and we are able to make some changes in real-time. What was important here is that we had base displacement with blackpoint = 0 and XYZ with blackpoint = 0.5
 Without and with Xyz additional detail - Arnold Ignore Shader Override Without and with Xyz additional detail - Arnold Ignore Shader Override |
 |
 Mari shader specular with displacement Mari shader specular with displacement |
Then connect Albedo maps to the shader in Mari, setup shader ( IOR 1.448, displacement setting, Bump, Specular Color/Strength, Roughness )
 |
 Arnold Renderer - Beauty/Specular pass using maps from Mari Arnold Renderer - Beauty/Specular pass using maps from Mari |

|
 |
To create specular and roughness map of good quality I used GPU Knald and baked AO from displacement map in 8K (Knald gives superb quality bake maps like AO, normal maps, cavity etc.). I used AO, because it allows to make pores with less specular like in real-world (in real-world pores are darker and have less specular than other parts of the skin, because pore are holes and in these holes we have shadows, shortly speaking: more roughness = less specular visible).
Roughness map was created also in Mari and connected to right slots in aiStandard realtime shader - when we created roughness map we needed to paint big areas like lips, forehead, nose - it created different value for them making all parts very soft and well blended with other parts.
 Raw Mari data - Albedo,Hemoglobin,Thickness,Roughness,Specular Raw Mari data - Albedo,Hemoglobin,Thickness,Roughness,Specular |
After all, I exported all maps to 16bit exr piz wavelet (making even more compression in Nuke to give 20% less file size without losing data in color and EV). Then I converted all textures to Arnold’s .tx format, prepared Alsurface (we use Arnold 4) shader with directional (long render - best result) SSS mode - connected all maps to right slots by alremapcolor/folat in shader for more control in scene, put realistic data to scale of SSS 3 different layers of skin based on thickness, using medical data, what color and gain (gain and color are very “connected” with scale - look on real values of gain blood - if is not 1.0 red, blood is much darker) is current layer of skin Epidremis, Dermis and Hemoglobin.
I made two GGX specular lobes using a specular map and mixed them with XYZ (the same with roughness - mixed with XYZ) - firstly 85% long tail, secondly 15% wet tail of specular.
I mixed two displacements, base and XYZ using allayerColor and ADD mode, fix scalar zero value because we had 2 black point displacements. I made a lot of test renders with different light conditions - HDR, Area light, Backlight, Soft/Hard light, then added hair (with micro hair/fuzzy ) and made renders with 4K in shot light.
 Mocap camera Raw data - Arnold Renderer Mocap camera Raw data - Arnold Renderer |
 Render - Maya Viewport with textures Render - Maya Viewport with textures |
 Final testing displacement in Volumetric Shader (Base + XYZ) Final testing displacement in Volumetric Shader (Base + XYZ) |
 Work in Progress - Turntable Asset with hair,cloth,skin Work in Progress - Turntable Asset with hair,cloth,skin |
 |
 Final Compositing Script - Nuke Final Compositing Script - Nuke |
For surface detailing, why did you use TexturingXYZ?
We use TexturingXYZ for adding small and micro detail to our main characters. Using TexturingXYZ Packs are great when it comes to adding extra realism to human skin, especially in closeup shots in which one needed all those small details. Moreover, the micro detail changes the roughness of skin specular layer. I projected XYZ pack almost 16K resolution, three channels with different scale map in Mari on the face, and made sure that all was right using aiStandard realtime shader in Mari, then blended micro displacement with mid-sized scale displacement from scanning session to see the final displacement that will be using in Arnold renderer. Also I took advantage of XYZ in order to add some extra details and blend them with displacement in albedo map, to make small pores darker and add detail in specular map - multiplay small pores on texture and the same in roughness map.

Did it bring something special to live and share as a team to work on this project?
Before this project I did a month of RnD about human skin, I read medical data, technical articles found on Nvidia, Siggraph and technical websites. I also tried spectral rendering and tested absorption Hemoglobin in human skin, read about how different types of SSS (diffusion, directional, spectral - by absorption and scattering - Volumetric SSS ) work and how specular in human skin, microgeometry changes in skin. Then I created big library with all those things, with better knowledge of how this works in real life. After all I shared that know-how with all my colleagues in Platige Image, and now we can make better things.
Would you like to add something else?
I would like to thank all people from Platige Image, especially my CG Head - Michał Skrzypiec, CG Supervisor - Rafał Kidziński, Art Director - Maciej Jackiewicz, Production - Agata Bereś, Grooming Artist - Mirosław Pączkowski, Lead Lookdev Artis - Bartłomiej Skrzypiec, Asset Lookdev Artis - Piotr Orliński, Piotr Nowacki ( make cloth textures, and shaders ) , Patrycja Domańska ( create all makeups, and tattoos textures ), and all friends from Platige Image that worked on this E3 trailer. I was really happy with my contribution to these characters and lookdev shots with Art Director - Maciej Jackiewicz. I always try to learn new things, that gives me extra fun in my work.
We want to thank texturing.xyz for the great texture content that we use for all our characters.
| From everyone at Texturingxyz, we would like to thank Mateusz, Platige Image and everyone involved in this article. |