


Step by Step - Photoshop Workflow
1. Export from your 3D software of choice, the unwrapped uv’s (uv snapshot) as 4k or 8k.
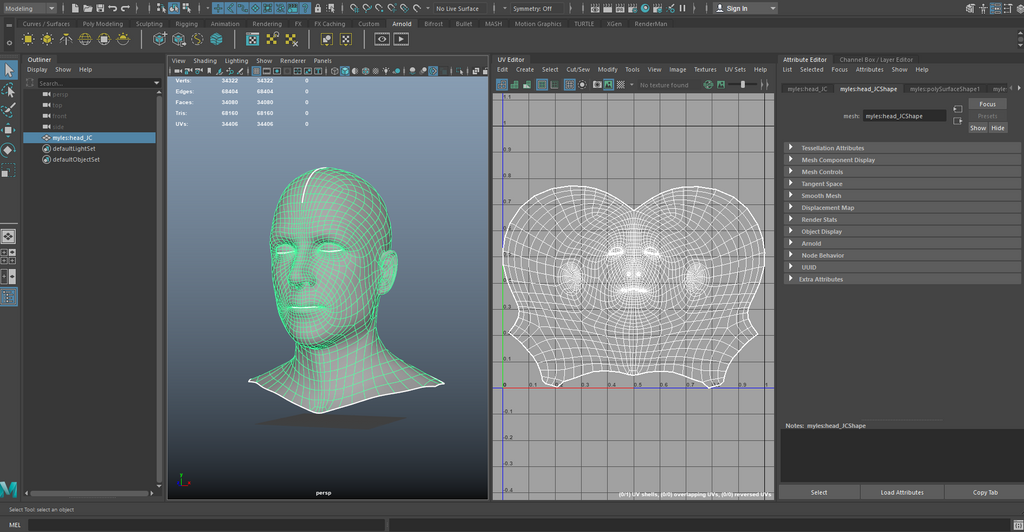
2. Open Photoshop and import the uv snapshot and change the image mode to 16bits.

3. Drag and drop all of the maps from Windows explorer on top of the uv snapshot and group them (make sure that all layers are smart objects).

4. Hide layers apart from albedo, and lower the opacity of the group slightly.

5. Edit -> Puppet warp and match the texture to the uv snapshot using pins.

6. You can change the density to get a more precise remap if needed.

7. Once properly adjusted, make the opacity 100% once again.

8. Alt+drag the smart filters (puppet warp) on the resting maps to get the exact same warp on each map.

9. If you want to add more distortion, you can use the Liquify tool in Photoshop.

10.Change the settings.

11. Paint and drag where needed to fit your UV set, for example the lips.

12. Alt+drag the smart filters (liquify) on the resting maps to get the exact same warp on each map.
