


Killer workflow using XYZ and Zwrap

⏱ READING TIME: 5 MIN READ
Introduction
| In this tutorial, we are going to look at how we could project a multi-channel pack containing multiple maps to any 3D model with Uvs. This workflow presented here is universal and could work with all our multi-channel pack as well as the displacement pack. The method presented here using photoshop works most of the time, but still, can be limited depending on your model and how the Uvs were previously unfolded. |
Assets and software used
|
Male 30s Multichannel Face #42 Autodesk Maya* Pixologic Zbrush R3DS Zwrap Xnormal *could be any 3D soft. |
Full video tutorial
Step by step
- Open up a multi-channel folder
- Get the dimensions in pixels of a texture file

- Open a 3D software such as Maya and create a plane with the settings like the screenshot below. (The width and height are coming from the image's dimension we got previously)

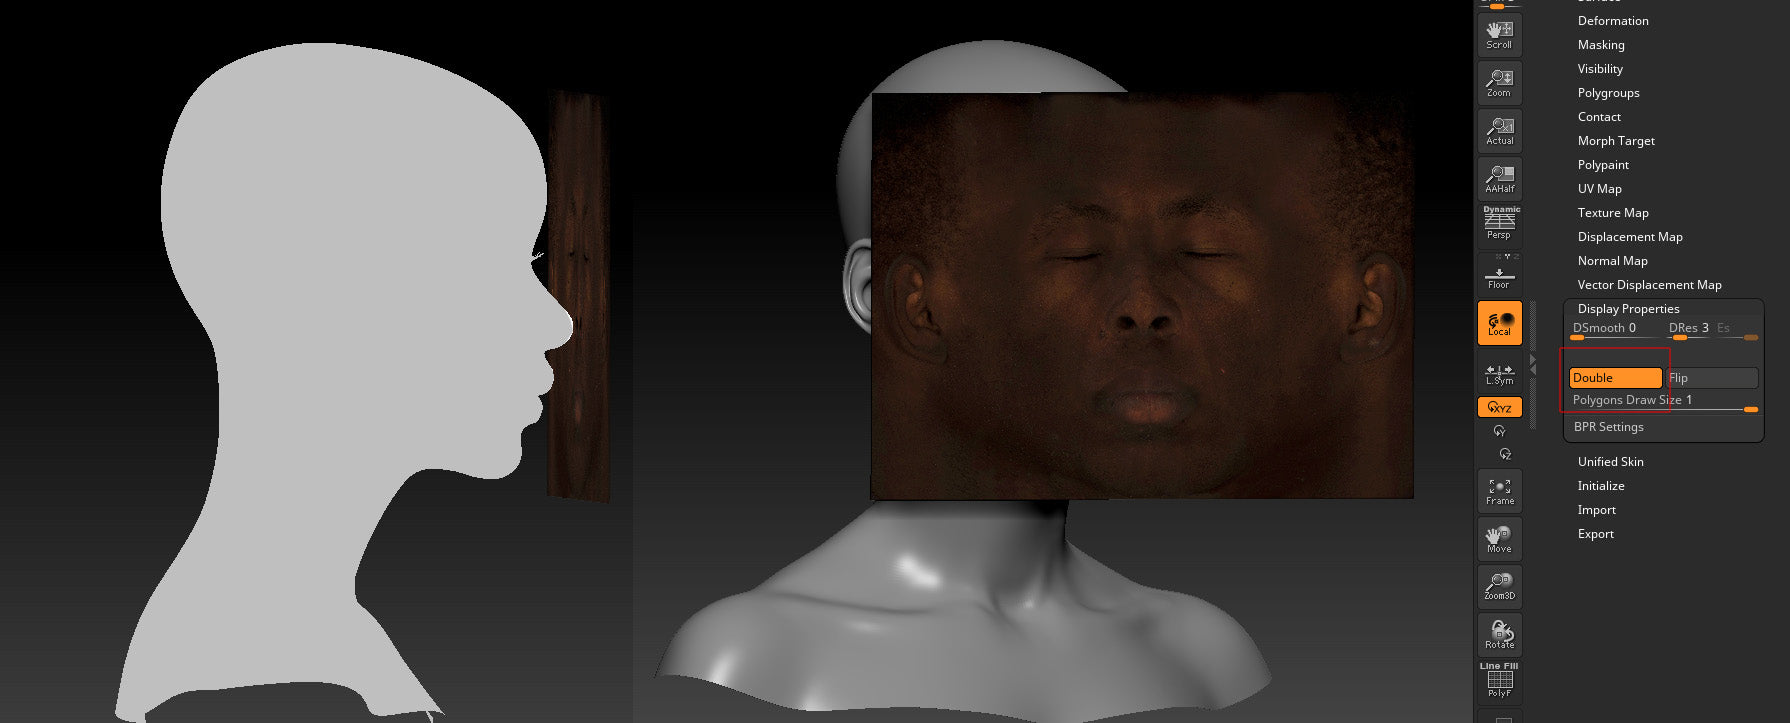
- Open up Zbrush, load the head model and the plane you have just created and exported in obj
- Once loaded, import the albedo texture file from the multi-channel pack and flip the image vertically
- Alternatively, you can also do this in Photoshop before importing the image file into Zbrush. image 🡒Image rotation 🡒 Flip canvas vertically
Important note: Make sure to export a JPG version before importing the texture in Zbrush and also to downsize it to 8192px wide. Bigger images won't work with Zwrap.
If you have an issue with the texture that is not showing up, please check the Uv's plane, or create a new plane inside of Zbrush instead and try again. Also flipping the Plane's normals can sometimes fix the issue


- Fit the plane to the face using the rotation, scale, move.
- Alternatively, you can do this step inside your preferred 3D software before exporting the plane
Launch Zwrap!
- Zplugin 🡒 Zwrap 🡒 Start Zwrap

- Place the corresponding points like below :

- Then wrap it!
- Depending on your model, we recommend playing with the settings like iteration, final sampling and final smooth

After this step, we would need to clean up and polish a few things directly inside of Zbrush. Such as the eyebrow's position, smoothing areas with polygons pinches etc.. using the smooth and move brush mainly. Once done, you can use the "projection" feature of Zbrush to reproject the model onto the plane, to fit both meshes as much as possible.

- Export both meshes, the head and the Zwrapped plane in obj
Almost done, it's time to bake!

- Open Xnormal 🡒 High definition meshes 🡒 import the zwrapped mesh on the file tab and import the albedo file in the base texture to bake tab by right-clicking on the tab + "base texture to bake".
- Low definition meshes 🡒 import the head model
- Baking option 🡒 Fill the output file (path+"filename".tif), size and edge padding fields, we recommend a minimum of 8192x8192px output and 20px edge padding
- Tick on Bake base texture
- click on Generate Maps
You have baked the first map!
Do the same for the other maps such as displacement and utility by simply changing the "base texture to bake" in the high definition meshes tab and the "output file" name in the baking options.
Time to check the result!

As we can clearly see, 95% of the baked maps are super clean, 5% needs cleanup especially in the ears, and of course, we need to fill the missing areas with our preferred texturing soft. All of this, in less than 30 min worktime.
Few cups of coffee later...
(Click to enlarge pictures)


Wanna try?

Written by Jeremy Celeste
Head model courtesy of Eugene Fokin