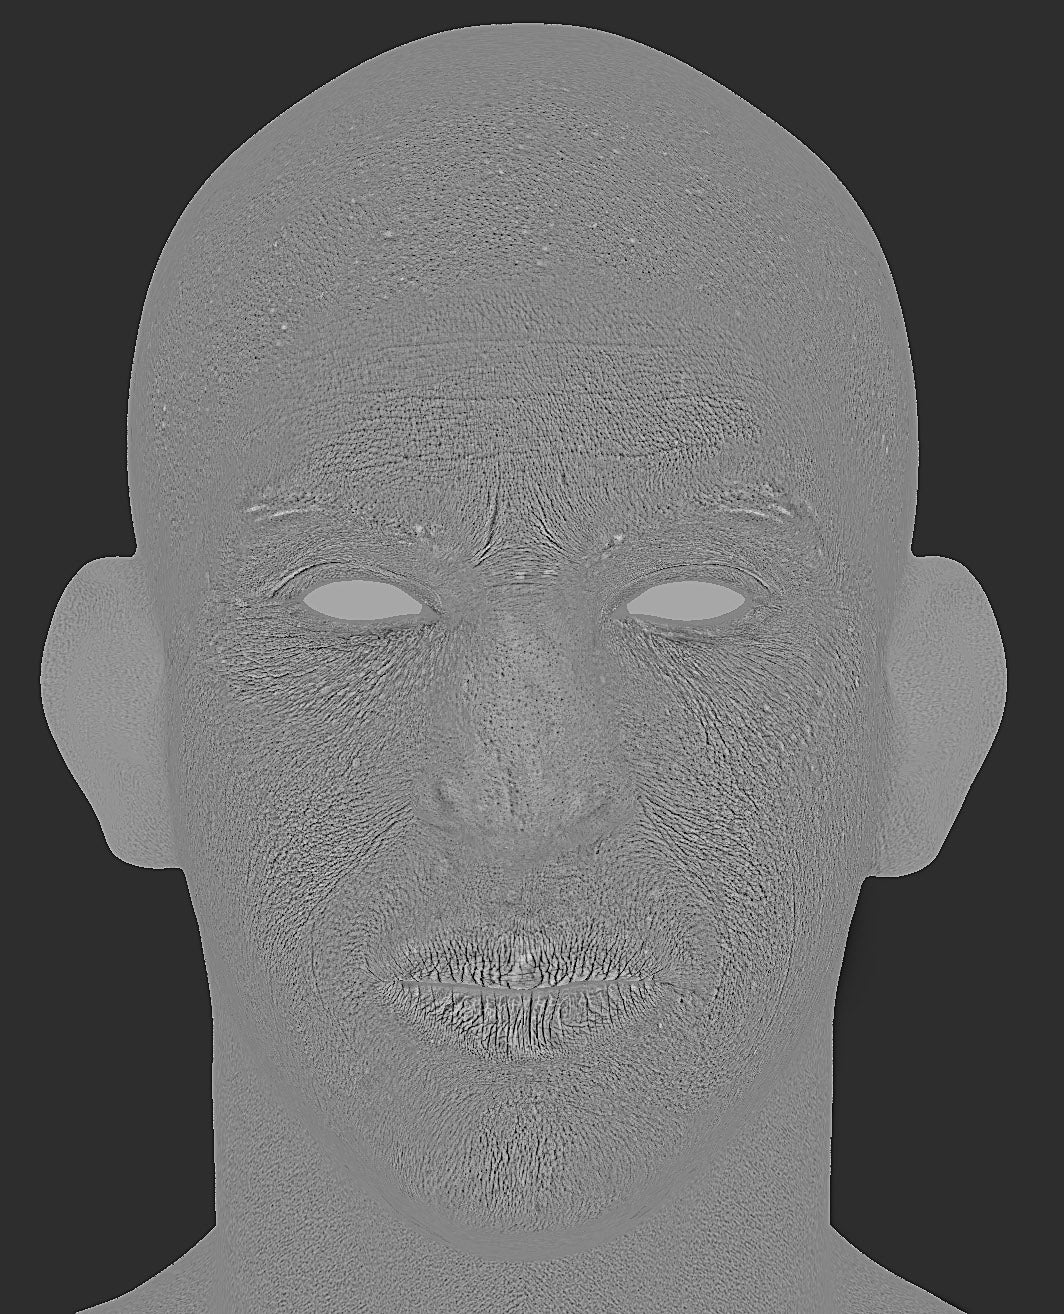
Jonas Skoog / Black guy making of
Jonas Skoog is Lead Character Artist at Goodbye Kansas, working mostly with cinematics and game-trailers.
Creating tertiary details using highres displacement scans,Creating fine details on your models can be a tricky process. Which way should the different pores stretch and what types are there?
with Zbrush and Mari :
Maybe you have a few alphas created from photo-reference or perhaps just paint them on using various brushes in your favourite sculpting app.
These techniques can indeed yield good results but it takes a lot of practice and understanding of the human skin to get there. What if you could just paint those details like you would an ordinary color map getting all the natural directions and types for free?

In this tutorial I will cover how to quickly create tertiary details such as pores and fine wrinkles on a humanoid model using scanned displacement maps.
The maps I used were created by a company called Texturingxyz.
Part 1- Modeling
To start off I sculpt my mesh on ZBrush to a decent level of detail by blocking in the major forms of the head using the ”Move Brush” and ”Clay Tubes” to get all parts like nose, mouth and eyes into place.
I then move on to secondary details such as big folds and crevices using ”Dam Standard” and the plain old ”Standard Brush” to push the model further into recemblance with what I have in mind.
Since I´ll be making a fictional character I don't have to worry about getting any likeness in place but rather flow with what feels good.
When I am happy with the result I make sure the model has propper topology and UVs (I usually project my sculpt onto a pre-excisting basemesh which holds good UVs to save precious time and make room for the fun stuff).
To do this I import my basemesh into ZBrush, align it to my sculpt using the ”Move Brush” so they match up in shape and subdivide it to roughly the same resolution as the sculpt.
A feature called ”ProjectAll” (found under the SubTool/Project menu) is then used to transfer the details over to the subdivided basemesh.
Part 2- Texture Projection on Mari
This new model is then exported to Mari where I load up my displacement scans in the Image Manager and paint them on much like a Color Map using the Paint Through brush.
Be sure to check your UV size before painting away and change it to a resolution that can hold all the details you are about to paint. The bigger the res the more details it can hold!
These Displacement Scans actually consist of ”three maps in one”, spread across all three channels R, G, B.
Combined all you see is just a mix of all three channels in a green/brownish tone but separated you get very different depths of detail!!
This gives me the ability paint seconday details, tertiary details AND micro surface at the same time!
Find all the resources and tutorials to combine and use UHD Displacement maps here!
When you are happy with the results it is time to export out your new displacement map and separate the channels in photoshop to give you the three different maps you just painted (you can use the map ”as is” in ZBrush even though it looks weird but you will loose the control to fine-tune).
Part 3- Project your Displacement maps in ZBrush
When you are done, let's get ready for some ZBrush action!

| Quick screenshot of the projected map in Mari |
I have two workflows that I alternate between depending on the effect I want to achieve.
None is better than the other and they work best in combination with each other to give rich depth and detail to your skin.
- The first one is the simplest and most straight forward. Just load the map into the ”displacement map menu”, set the parameters to your liking and click appy. A low intensity number here is preferred, probably around 0.01-0.03 to not over-crank the result. Also make sure to tick ”mode” to see how the map displaces the mesh.
- The second workflow is a little trickier.
This time you load the disp map into the ”texture map menu” to set it as an albedo for your model.
Now you can ”mask” the details by clicking ”Masking/Mask by Color/Mask by Intensity”.
If you now apply ”Deformation/Inflate” the unmasked details will be pushed out to create a similar effect to the previous workflow. Just be sure not to over-do the inflate since it can easily bloat your mesh.
Both techniques give roughly the same result. Pick the one you like or combine them like I did.
As long as you are satisfied with the result, how you get there, does not matter.
If everything has gone well you should now be on your way to a very realistic skin!
One important thing to remember is to always work in layers to be able to step back if needed and this is especially important if you are working against a client giving you feedback or changing their mind about things.
You can also play with the results with ease if you make use of Morph-Targets along the sculpting process.
Just save a Morph before you apply tricky details and shave off the unwanted ones using the Morph-Brush.
Now that you have the techniques pinned down you can experiment with the different displacement maps to create that extra depth of realism to your models skin.
Use the ”Secondary Detail Disp” for larger details like pimples and uneven skin and the other two for the fine pores and wrinkles down to the finest micro-structure.
Good luck!
Make sure to visit Jonas website : http://www.jonasskoog.com/


