


Gaël Kerchenbaum making of "Release the beast" P3
Specular
Let’s now move on to the specular channels. For these maps, I tend to stay as simple as possible. I just want to get enough range so I can tweak my maps during the look development stage.
- Create a new channel, call it spec. The channel has to be 16 bits, in linear color profile and use a white color for base layer
- Share you curvature channel in it. You can put it in multiply
- Use a level or a brightness look up to adjust the effect of your curvature.
- Use your cavity channel as a mask shared inside a brightness adjustment layer. Invert your cavity mask using a reverse layer. Then lower the brightness value to get rid of the specular affecting the cavities of your sculpt.
- Test the influence of your map by plug it in the specular weight of your shader. Put the diffuse weight at 0. Go in the lighting tab, use an environment hdr and make it rotate. This will give you a good clue on how your shader will look like once rendered.


Specular roughness
This one is really tricky. Most of the time it needs a lot of adjustment inside your rendering engine. The idea is just to make a map in Mari that has a lot of range to play with later on.
Create a new channel, name it specR. The channel has to be 16 bits, in linear color profile and use a mid grey for base layer.
Create a brightness, give it a mask stack. Share your cavity channel inside. Reverse it using a reverse layer.

- Rise the value of this brightness so the cavities look whiter. White means a rough specular.
- You can create a new brightness and share your curvature channel inside its mask stack. This time make this brightness value lower to get a more shiny specular.
- Put your specR channel in the specular roughness slot. You can now adjust your map directly in the viewport like you did for the specular.


Tips : because the specular and specular roughness maps are in linear and most of the screen are in sRGB, I recommend you to switch of Mari’s color management during the specular map generation. Move to the flat shaded mode, play with the values. Then reactivate the color management and use the Lighting plus shaded mode to see the impact of your textures.


We are now done with the texturing stage of our creature. You can now export everything in .exr format. Always remember that a texturing is never done, we will need a lot of going back and forth to make it correct. The render of a look development scene really helps to solve the maps bad information.
Look development
We can now move to the final stage of our asset development. I’ll explain you how I do it in Maya and Arnold.
-
Set up your look development studio
- Create a plane
- Create a skydome light, put an hdr in the texture slot
- Create two spheres next to your model
- Leave the lambert1 shader on the first one
- Create a new aiStandard. Put the diffuse weight at 0. Put the specular weight at 1. Select your second sphere and apply the shader on it.
-
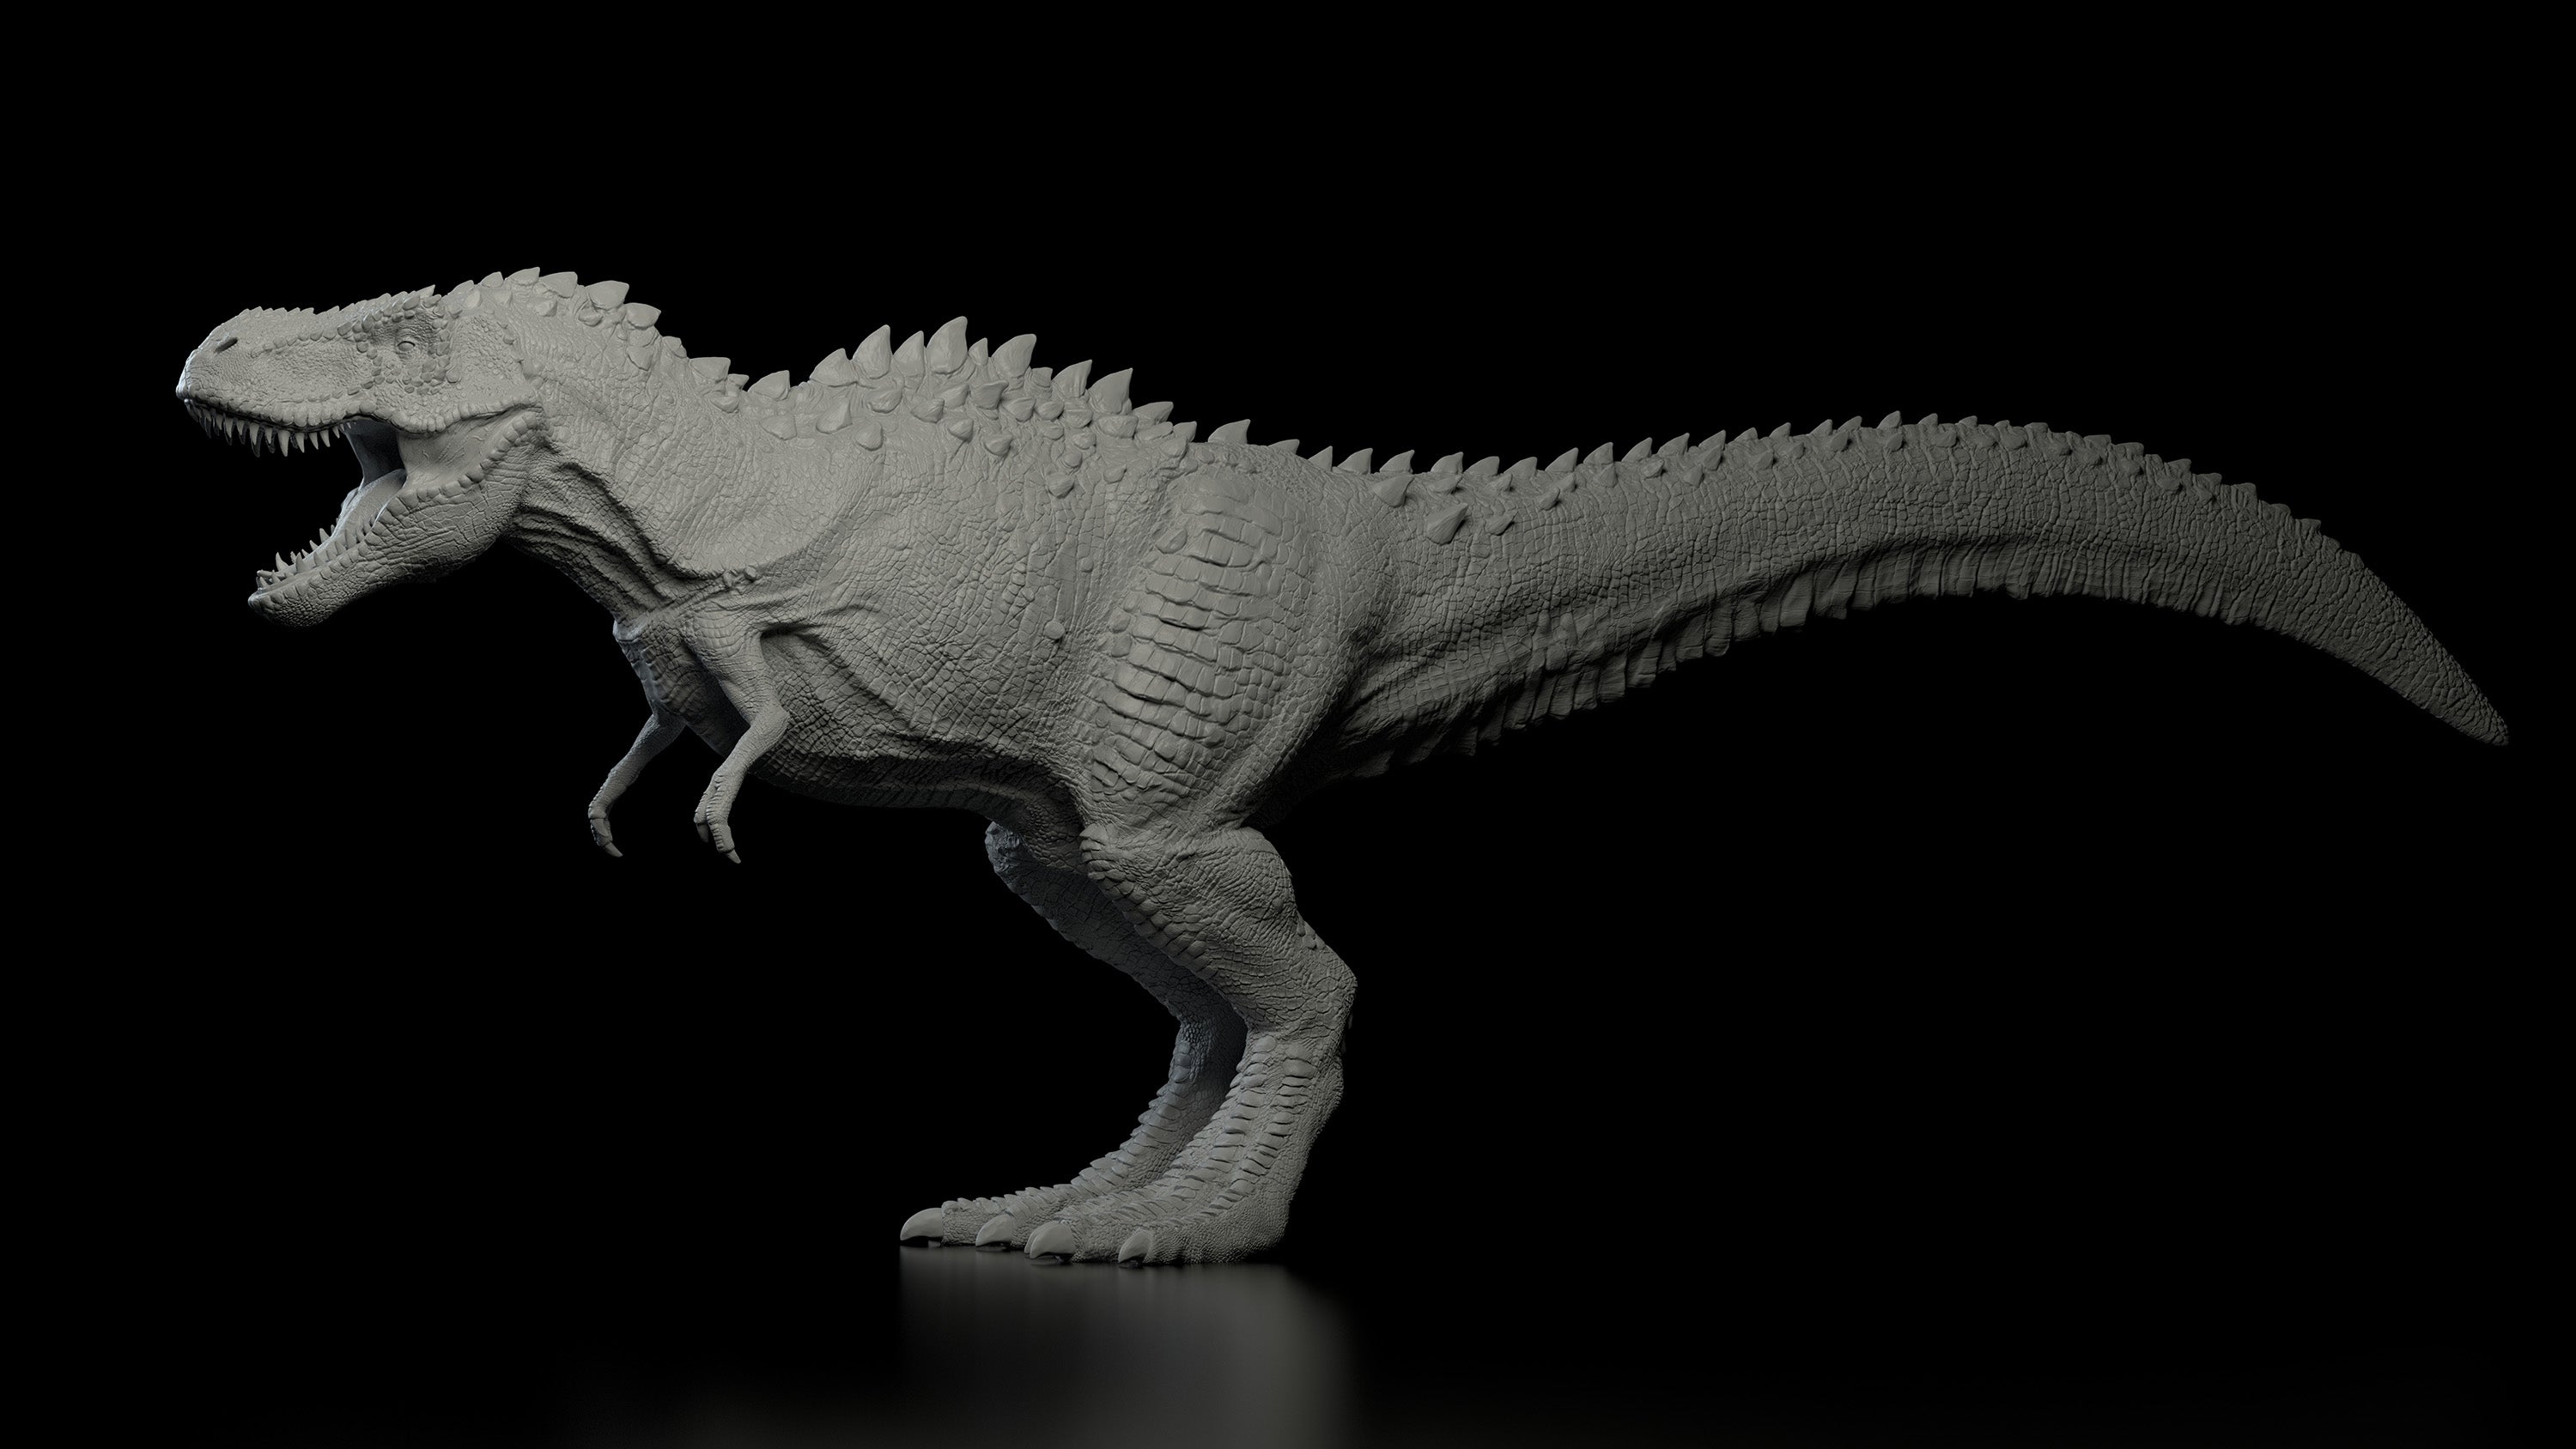
Set up your displacement
- Select your model, go in its attribute editor.
- Go in Arnold, displacement.
- Set the subdivision mode to Catclark, and add 3 or 4 levels to begin with. We could rise up this value later on when dealing with the actual render. Switcth the auto bump on.


- Add a new alSurface shader, apply it to your model.
- Unwrap the shading network of your alSurface.
- In the displacement slot of your alSurface’s shading group, add a file node. Import your zBrus displacement maps in it. Put the color profile in RAW. Check the UV tile format as Mari type.
- This is it! Just render one frame to see if everything is working correctly.

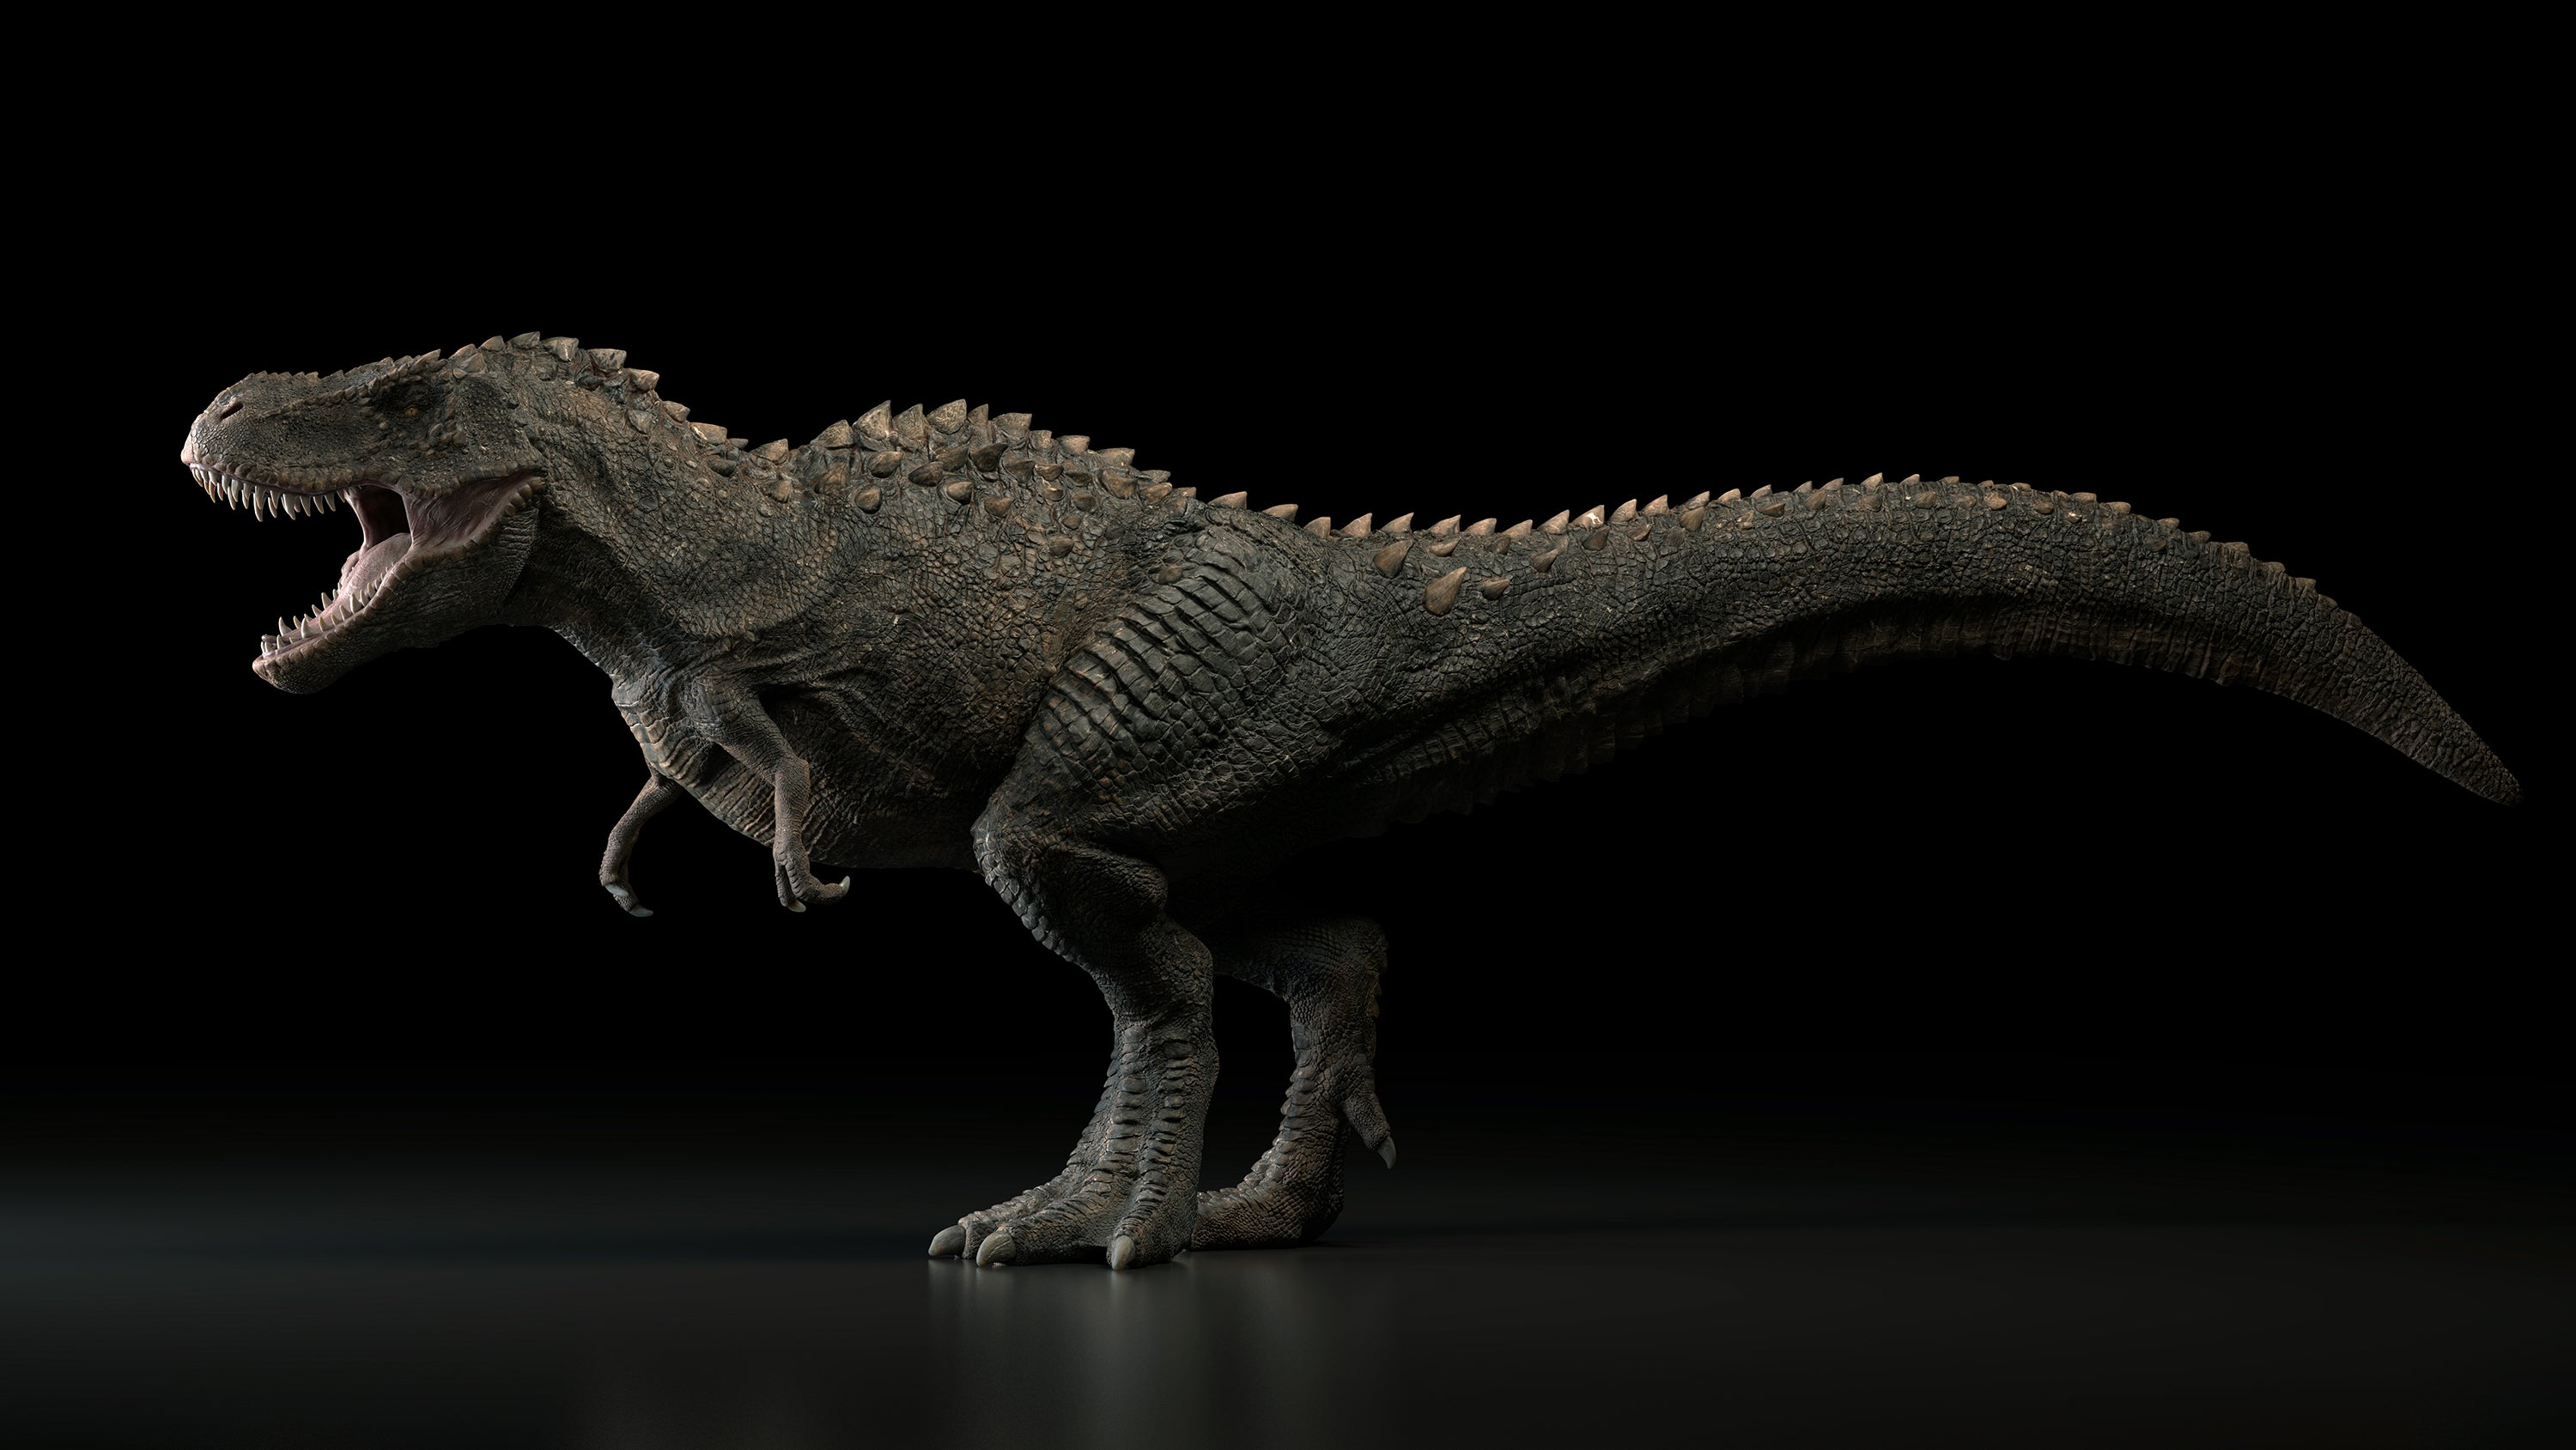
 Set up your shader

-
Albedo
- Select the diffuse slot of your alSurface shader. Add a texture file node.
- Import your albedo channel. Put the color profile in RAW. Check the UV tile format as Mari type.


-
Specular weight
The alSurface shader offer two specular layers. I like to keep the first one for rough reflections. You don’t always have to use a map to control the first layer.
- Spec 1 : Put weight at 1, use a white color and use a roughness at 0.5
Just lower the specular white color to control the overall amount of spec.
If you feel that you get too much specular in the cavities, bring in it your former cavities map in a texture file node. Put this texture file in a HSV remap. Put this HSV Remap in the specular weight slot of your alSurface.
You can now play with the available curve for the value to control your specular intensity.
- Spec 2 : Put a weight at 1, use a white color and use a roughness intensity at 0.3
Import your specular map and put it in the specular 2 weight of your alSurface. Do the same for the specular roughness map in the specular roughness 2 slot of your shader.
Try to render your model.
If you feel that the specular information are not correct, put the map into some HSV Remap and play with the value curves. This will help you to contrast your maps or tweak their data directly in Maya.


Tips : You don’t have to go back in Mari to change your maps information. Most of the change can be done within maya using utilities like HSV Remap, alRemap, Multiply… This is exactly what the look development process is about. Also keep in mind that you have a lot of isolation masks that we exported from zBrush. We can use them as masks in Maya as well ; for example if we want to rise the wetness of the inside of the mouth. We could use the isolation map of the mouth plug it an alRemap node along with the specular roughness map. Then we just need to lower the exposure and plug the result in the specular roughness 2 slot of our shader.
We are now done with this step by step tutorial. I hope you find it useful. I tried to share with you most of my process when dealing with creatures. I can’t wait to see your future project. And remember, if you’re looking for a creature artist, I am always looking for new opportunities!
All the best.
Get the free PDF version of this tutorial
| We would like to thank Gaël for his helpful contribution. If you're also interested to be featured here on a topic that might interest the community, feel free to contact us! |