

Antoine Verney Carron Making of "Sinodon"
Hi everyone, my name is Antoine Verney-Carron and I'm a modeler/creature artist working in the VFX industry.
Here is a quick making-of showing my process for creating this creature.

First of all, this is not meant to be the most advanced way to build a creature. The idea here is just to share some tips I've been using to achieve a believable creature without spending to much time on it.

Ok so let's get started!
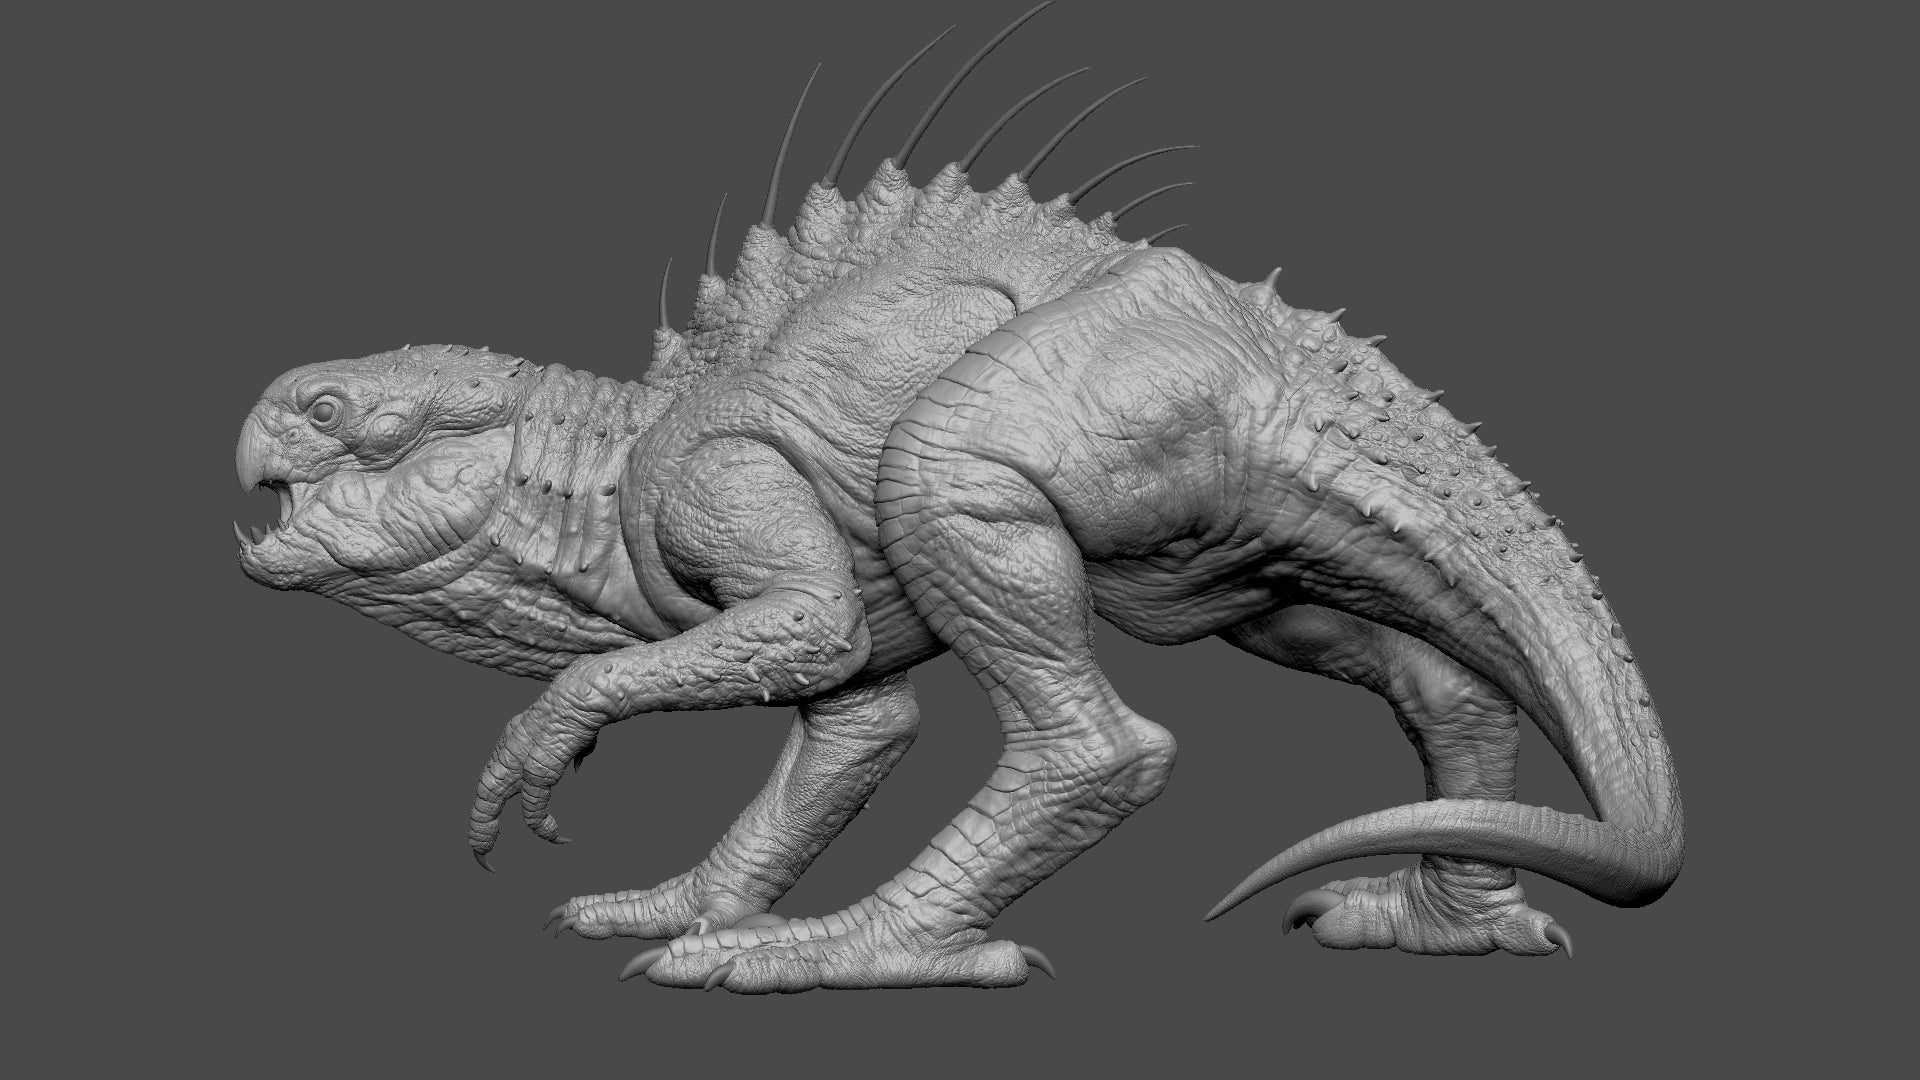
I knew I wanted to do a reptile-like creature, a kind of snapping turtle with strong dinosaur legs and a massive tail.
This skin quality can easily be achieved with some frogs, crocodile and ostrich maps provided by TexturingXYZ.
I decided to project the displacement in Mari rather than using alphas as it allows me to have full control of the flowing direction of my details, and I don't have to worry about polycount since I'm painting on uvs.
The model has 8 4k UDIMs to keep it fast and flexible, but still offering a good level of detail.


The UV tiles from 1001 to 1004 are the left side of my model, 1011 to 1014 are the right side.
they are exactly the same, just offset by 10 tiles.

I like to layout the uvs this way so I can copy all my textures from one side to my model to the other in just one click.
First, select the patches you want to duplicate, then copy texture with an offset of +10

Once you're happy with the primary shapes in Zbrush, it can be a good idea to start working with the maps pretty early in the sculpting process.
The first thing to do is to combine the maps.
Check this awesome tutorial by Gaël Kerchenbaum showing how to combine your XYZ maps: https://texturing.xyz/pages/surface-displacement-maps
In this case, I use the red channel as height, green as bump and blue as cavity.
I gather my model and the maps in Mari, then I set up a mariDisp channel (sRGB, 16bit or above).
One of the most important things here is to give your details the right flow. looking at some real-life references is always the key to achieve something believable.
I use the warp and slerp tool almost all the time in order to give the wrinkles the desired flow.
Don't forget to play with the scale of your projections!
If you scale up some human skin details you can achieve some animal leather skin quality for example.
It's always good practice to keep different kinds of maps on a separate layer so you can tweak the intensity independently.
(Such as trying to avoid mixing frog maps with ostrich etc.)
It will also be way more convenient later on for texturing, for example I know that the big scales on the rear leg will have less sss than the rest of the body.
I'll just have to copy paste my scales layer into the sss channel, set the modify mode to darken and grade it to attenuate the subsurface in this area.
I recommend using the Mari nodal system as it keeps your project lighter.
I add a shuffle on top of my layers and set all the channels to green.
Now you only see your bump channel as a black and white map, this makes it easier to see what you are doing.
here is a WIP of my displacement displaying only the bump channel.

(Don't forget to hide this shuffle when you export your maps)
You can apply a shader to your model in Mari. I like to plug the mariDisp into the bump slot and play with the lighting to check my maps.

Don't forget to keep updating your obj in Mari if you do significant changes in your sculpt.
you can also add versions to your obj like a posed one or with the mouth open to help with the texturing.
Quick tip: you can use the decimation master tool in ZBrush to reduce the polycount while keeping details (don't forget to switch the keep uvs button on),
then import the new generated obj into Mari.

In this case, I only export the bump (green channel) from Mari, as I don't need to display the large and micro details in Zbrush.
In Zbrush start by saving a morph target for safety, create a new 'mariDisp' layer, then import the displacement.
I would recommend using the awesome plug-in provided by Jake Harrell to quickly import all your 32bit maps.
Notice that I won't sculpt anything on this layer. I just use it as a guide.
I create a new sculpt layer where I can now push volumes and emphasize details following my Mari displacement.
This is a very important step as you really want to add weight to your wrinkles, scales etc...
I only use basic brushes such as standard, dam standard and move brush.
Here is the result with both mariDisp and sculpt layer on:

(Be careful not to smooth out details when the mariDisp layer is visible. If you do you will bake some negative information from your Mari layer to your sculpt layer.)
Once I'm happy with the result I hide the mariDisp layer and export the ZBrush displacement only (.exr and mid0).

I don't want to export my Zbrush displacement with the hi-res details on, those details will come from the Mari displacement.
This model has 8 udims of 4k maps, it means that if I want to match this resolution in Zbrush I would have to display at least 128 billion polys.
This can be done by splitting my tool into several pieces then subdividing each new subtool a couple of times more.
In this case, I want to keep it fast and simple, so I just skip this step and use the XYZ maps straight out of Mari.
So we end up with a Zbrush displacement for the large details and a Mari displacement for the fine details.
I can combine those maps using the XYZ Tool for Maya done by Richard Trouve.
You can find this tool here: https://texturing.xyz/pages/texturing-xyz-displacement-tool
This tool also allows me to quickly balance the intensity of the mariDisp channels directly in Maya.
It can be very tricky to get the right result especially with materials high in subsurface, so it's better to do it in Maya instead of re-exporting your maps each time. 
The texturing process is very similar to the sculpting one.
I like to start in Zbrush, polypaint allows me to quickly block the primary colors. I use only super soft brushes at this stage.
This would be my base color into Mari.
I can also export black and white masks from ZBrush such as peaks and valleys, smoothness, ambient occlusion and cavity.
Those will be my secondary details.
I like to paint custom masks such as the inner mouth, nostrils, eye contour etc which can be used later on to crank up the spec map for example.
Once again, XYZ maps become really useful when it comes to tertiary details: my hi-res displacement is already here, I just need to split the 3 channels with a shuffle.
Quick tip: if you add some scars to your model in Zbrush, keep it on a separate layer. Export your displacement with only your scars layer visible.
You can then use those maps as a mask in Mari.
(No need to export it as an exr, tif is fine with the midpoint set to 0.5)
Everything is gathered into Mari within separate channels, I can then start texturing!
I like to use solid colors, noises or tiles and play with masks rather than painting directly on the model to keep the workflow non-destructive.
In the end, there are only a few areas that are actually projected.
Another great thing about building your color out of your maps instead of photo projection is that you are sure that your texture details match your sculpt.
Quick tip: if I want to quickly adjust some localized areas, I can use my mariDisp channel as a mask on the fly:
in the projection tab, plug your mariDisp channel into the mask channel, then play with the mask curve.

Here is a breakdown of the Sinodon:
Notice that at some point I'm working all at the same time: sculpting, texturing, lookdev and lighting.

You might have to jump back and forth between the different programs until you get the result you want.

Hope you will find it useful!
| We would like to thank Antoine for his helpful contribution. If you're also interested to be featured here on a topic that might interest the community, feel free to contact us! |