


Break-Down & Applying Vector Displacement Map in Arnold
My name is Mohamed Alaa and I live and work in Cairo, Egypt at Snappers.
I have been working there for almost four years. My role at Snappers is mainly modeling realistic facial blendshapes based on FACS for AAA video game/feature film studios like Activision, Warner Bros, EA, 2K and Netherrealm.
We worked at Snappers on many popular games like Call of Duty: Infinite Warfare, Injustice 2, Mafia III, Shadow of War and others interesting projects.
And for the past year I’ve started to make a realistic likeness head models for celebrities and figures.
I draw portraits all my life but didn’t consider that as it might turn to a professional career till I actually graduated from Faculty of Engineering as a communication and electronics engineer. So I didn’t have the opportunity to gain any academic knowledge or to know that’s not my passion. I started learning online till I got my first job as graphic designer.
And drawing got me into sculpting and texturing!

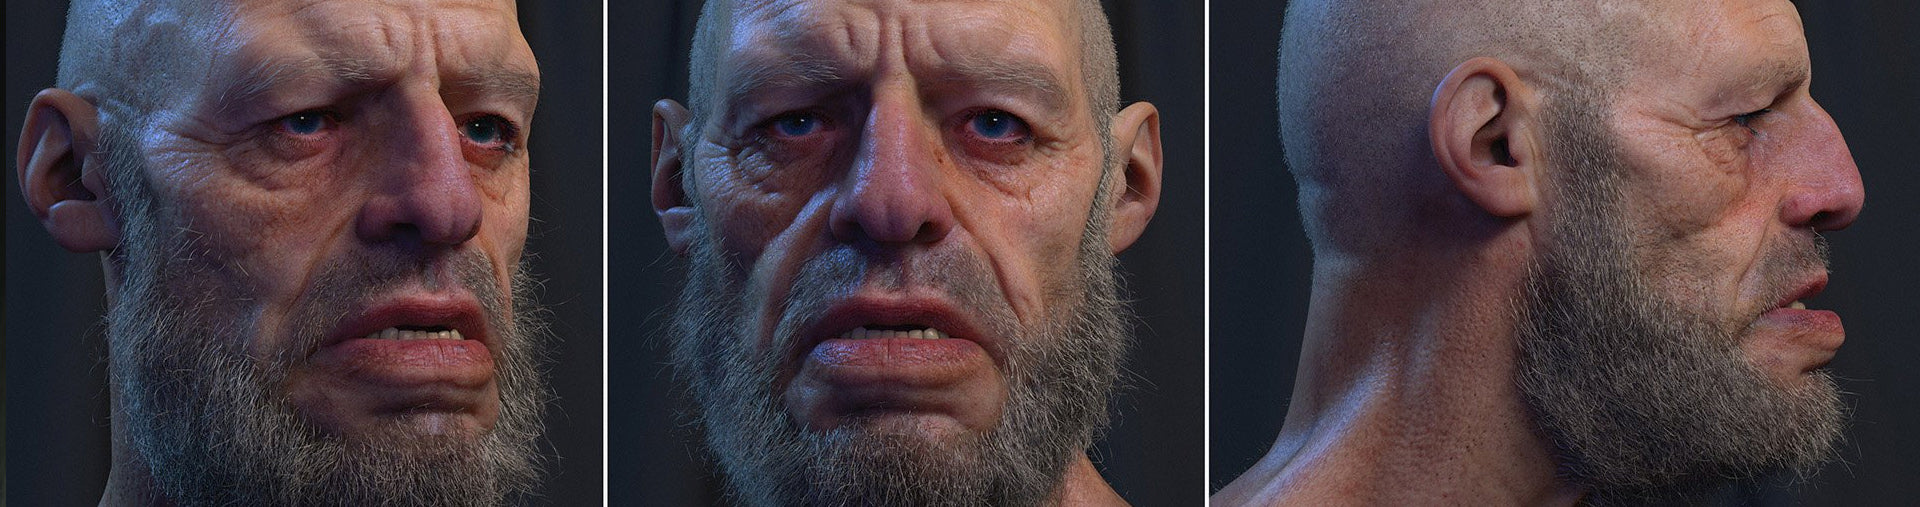
| About that project specifically, I was honestly inspired by Tom Newbury, an awesome artist. He made couple of giants during his tutorials. And I wanted to make my own giant that is not based on one particular concept. I wanted to do all the proportions I like to see and that was it. |
I love to work with TexturingXYZ displacement maps, they are excellent for nearly any character you are modeling.
But I was having a problem with the exported displacement map from ZBrush.
And I came out with a method of applying a vector displacement map into Arnold instead of the ordinary displacement.
One other problem I have in my early work, is that any displacement you work with will not have the same details in diffuse. Until you provided the Multi-channel Faces maps, That was extraordinary. Before that you had two silly options, its weather you bump from diffuse map to make displacement or bake cavity from displacement. By the way Giant Ubaii was made with the baking method.
Making Of Giant Ubaii:
- Part 1- TEXTURING THE ALBEDO


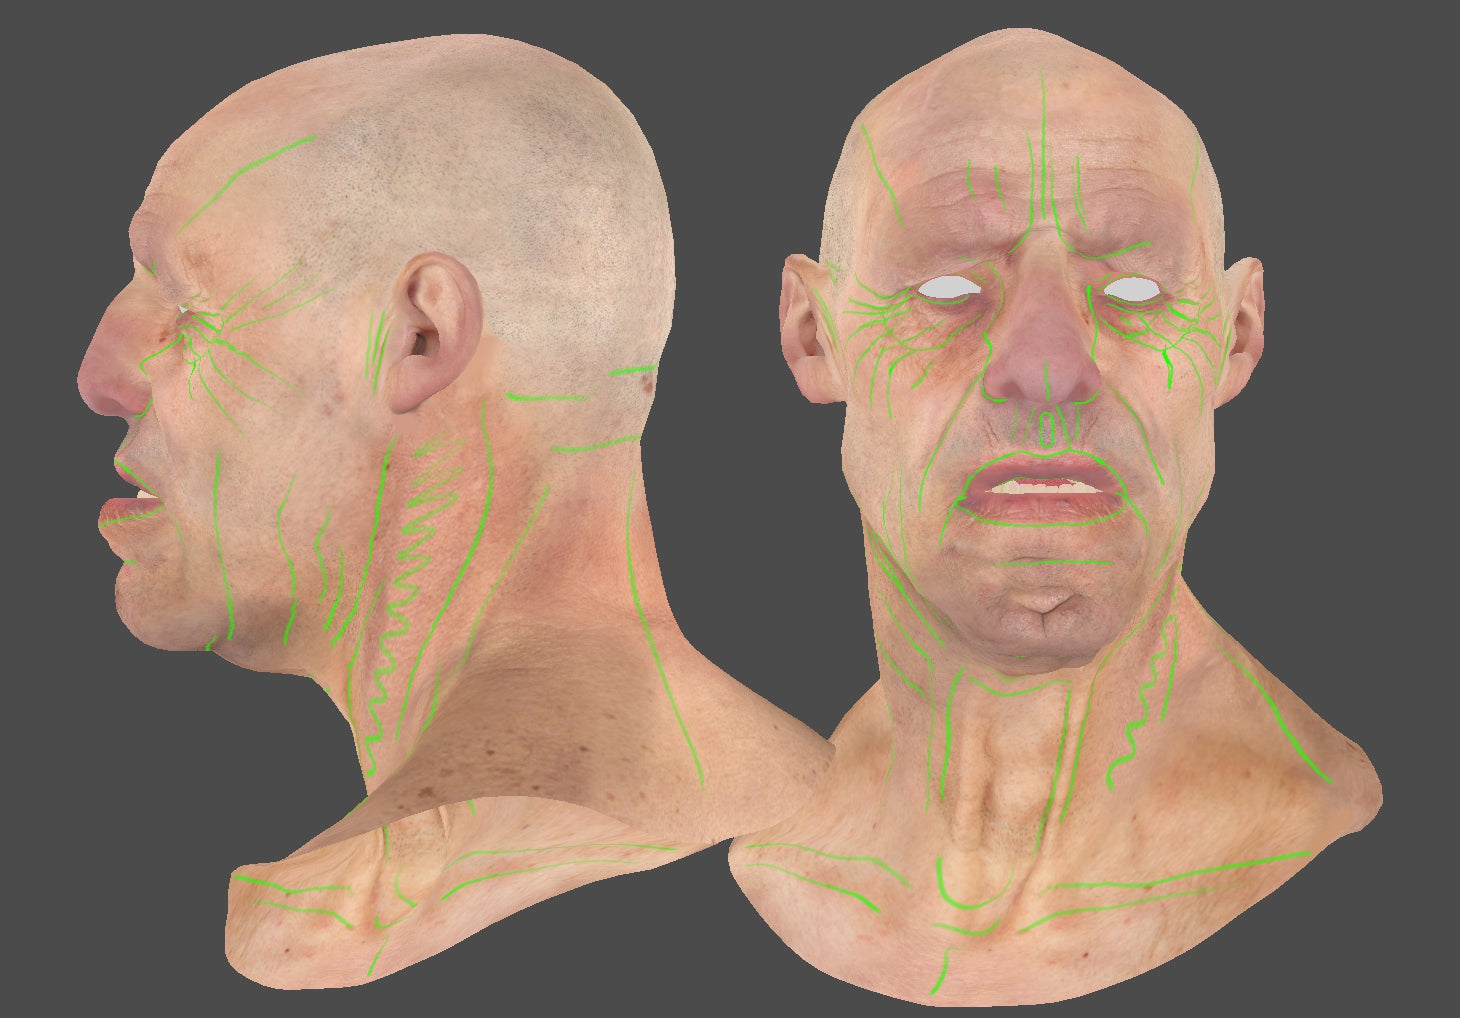
And Then I roughly painted over where I wanted the wrinkles to be. To use them as a guideline for me when wrapping the displacement.
- Part 2- DISPLACEMENT & DETAILING WORKFLOW
I used an old 40s-aged male map to match my character, and wrapped all the areas in Photoshop and finished the map.

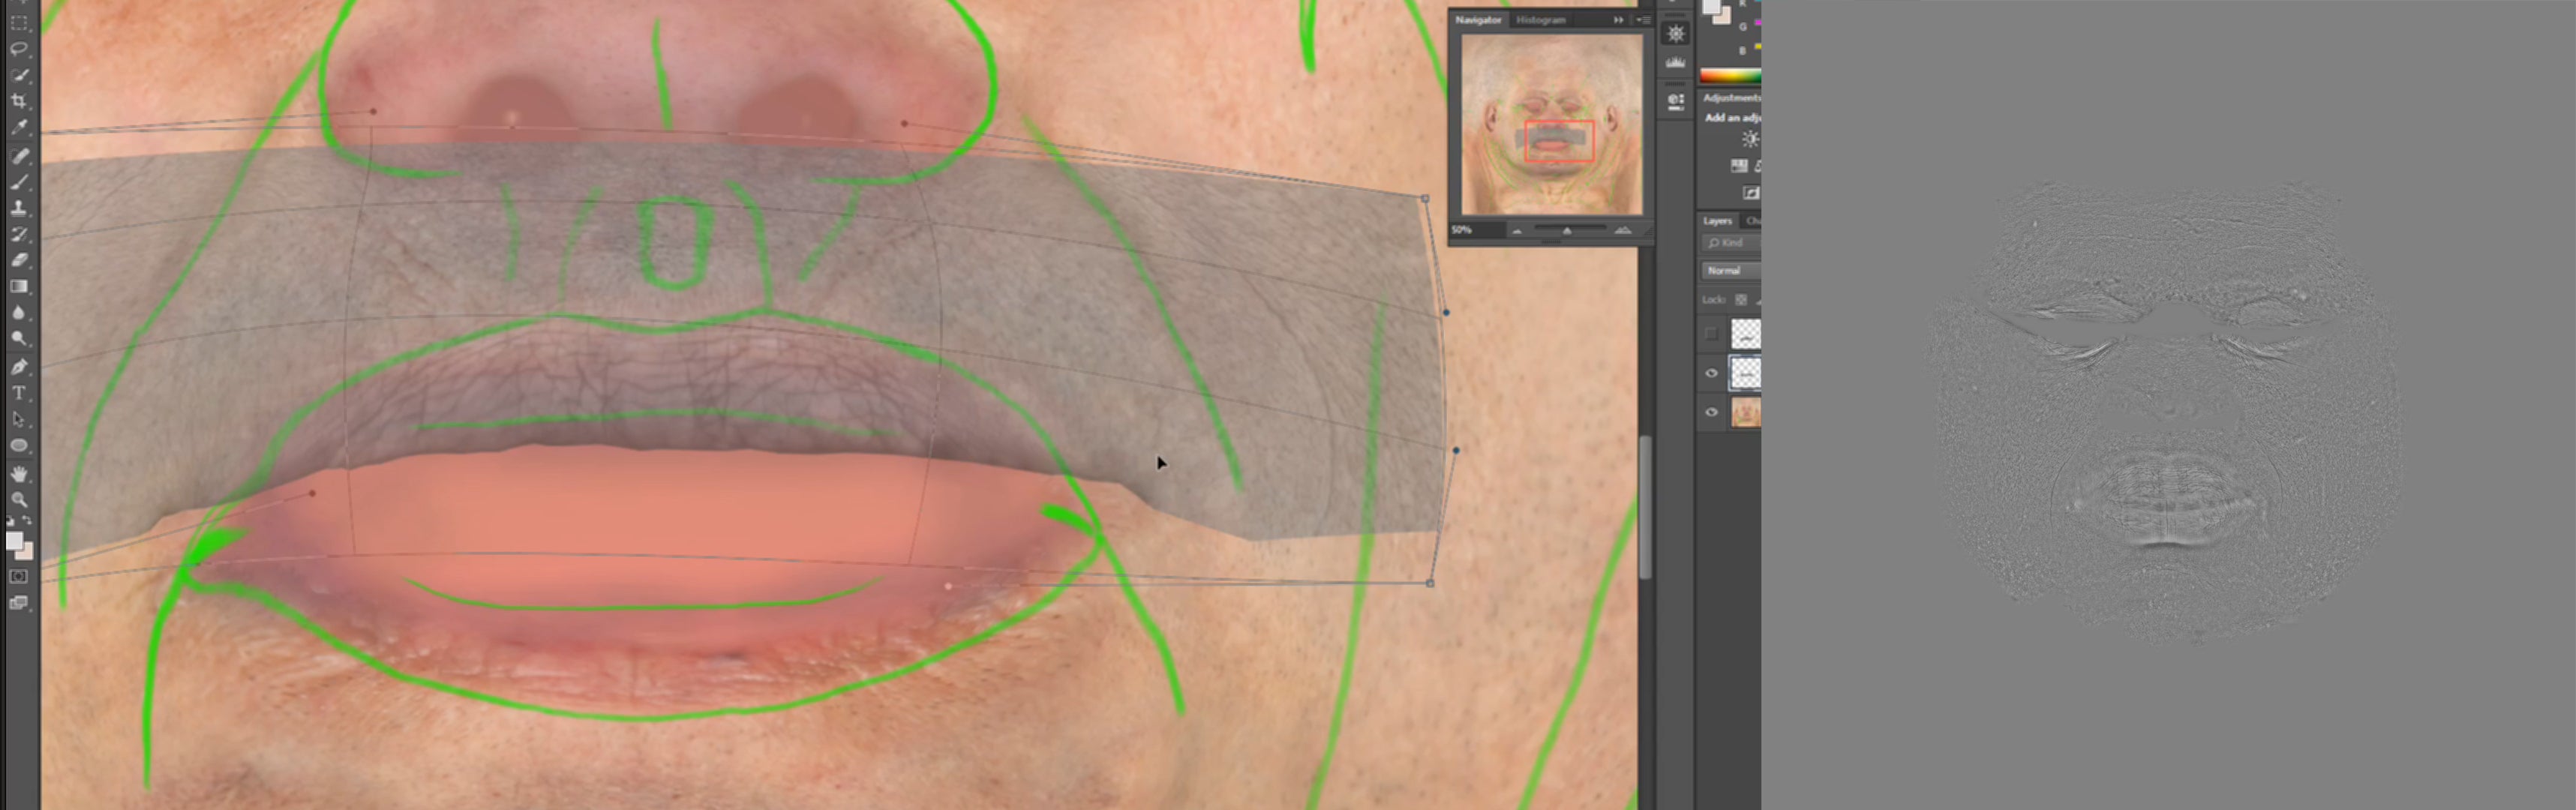
I used that map to Bump over my sculpted wrinkles on ZBrush, and I got that result:


| Unfortunately I didn’t use the Tertiary or the Micro channels of the map for this, because of the limitation of that workflow. But that was matching the quality I was aiming for that project. |
After Cavity baking in Diffuse, the rendered AOVs of the Diffuse looked like this:

- Part 3- EXPORTING VECTOR DISPLACEMENT
I’ve been searching for a long time on how to export Vector Displacement Map from ZBrush, and make it work right in Arnold. I did some tests on a test ball with some major extraordinary details in Zbrush (highest subdivision). And I tried to get the same exact results in Arnold for Maya.
The following image show the settings for ZBrush and Arnold.
| Note: you can always multiply your Height scale in the displacement shader. But that will not be needed as much in this method. |

|
In ZBrush: I tested a lot of numbers and settings, and found that:
|
In Maya Hypershade:
|

|
Note: In the exported map shown above: The Green channel is nearly similar to the ordinary displacement when setting the mid value to zero. But with the other two Red and Blue channels, you’ll get better results. |
The result was very accurate to what I’ve sculpted in ZBrush:


After getting that result. I was able to apply any details I sculpt in ZBrush to appear exactly in Maya.
And did the rest of Shading and Grooming!

| We would like to thank Mohamed Alaa (ArtStation | FB | LinkedIn | Mail) for his work, and helpful contribution. If you're also interested to be featured here on a topic that might interest the community, feel free to contact us! |