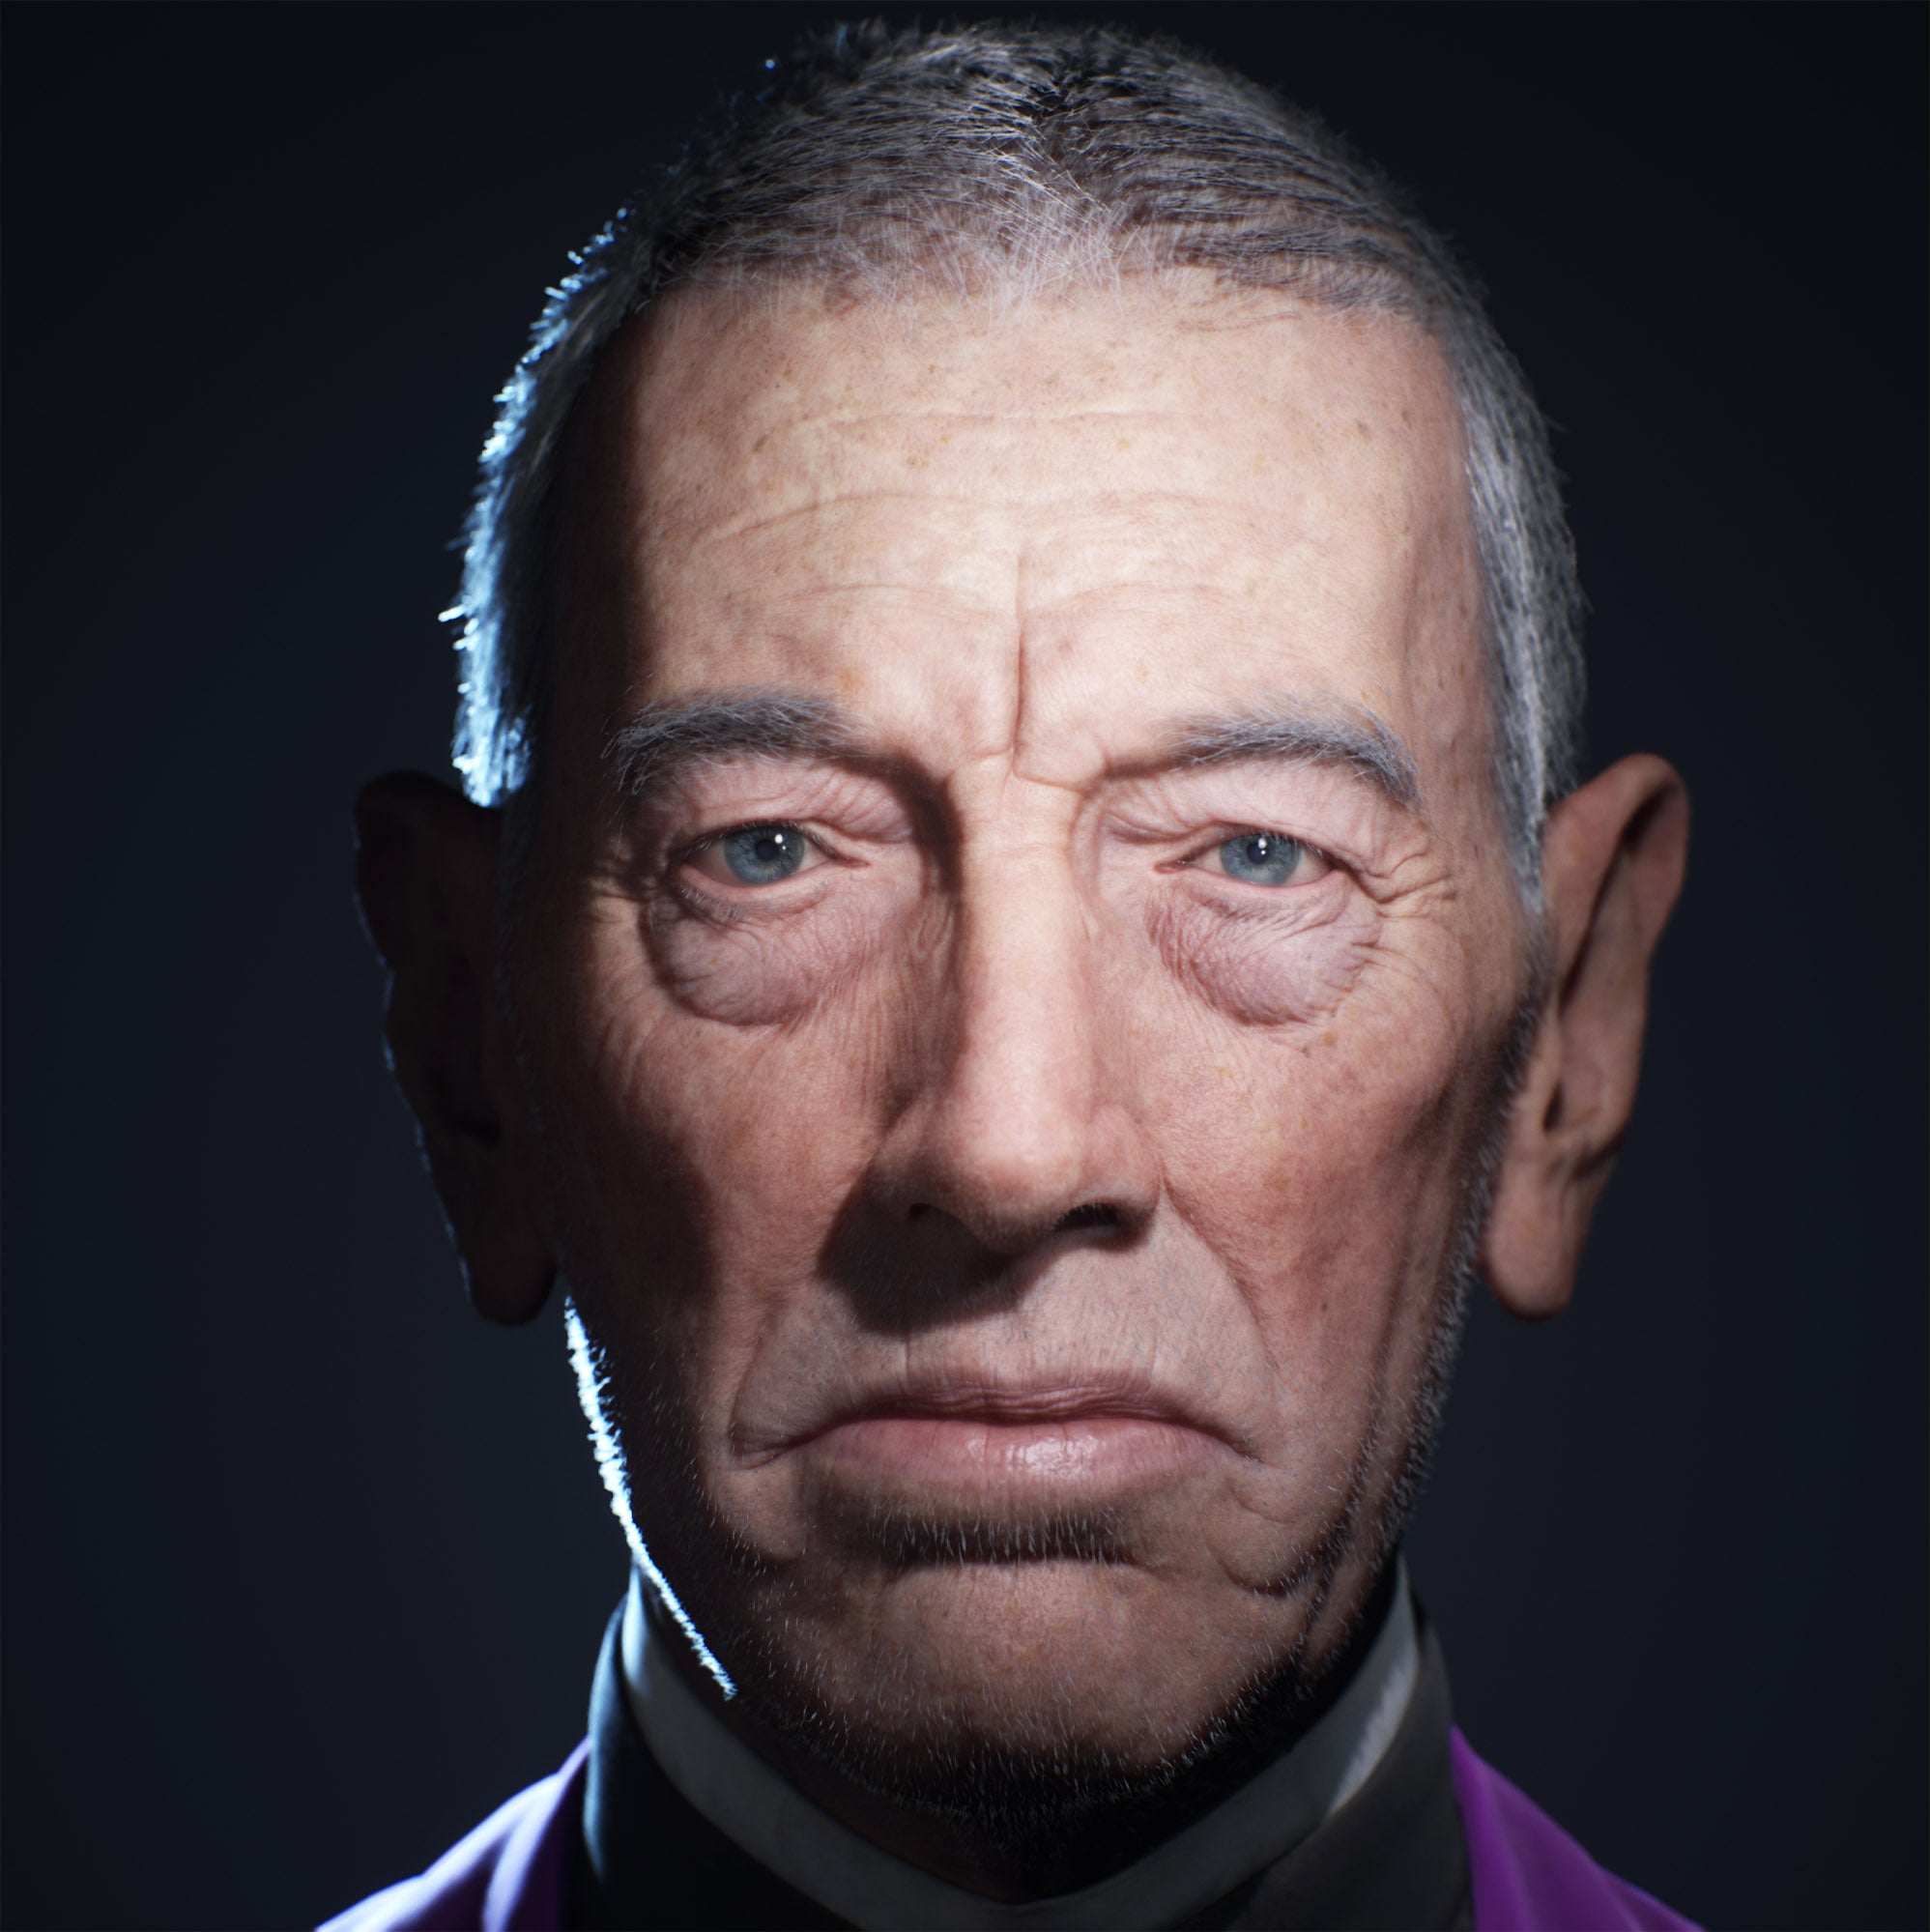
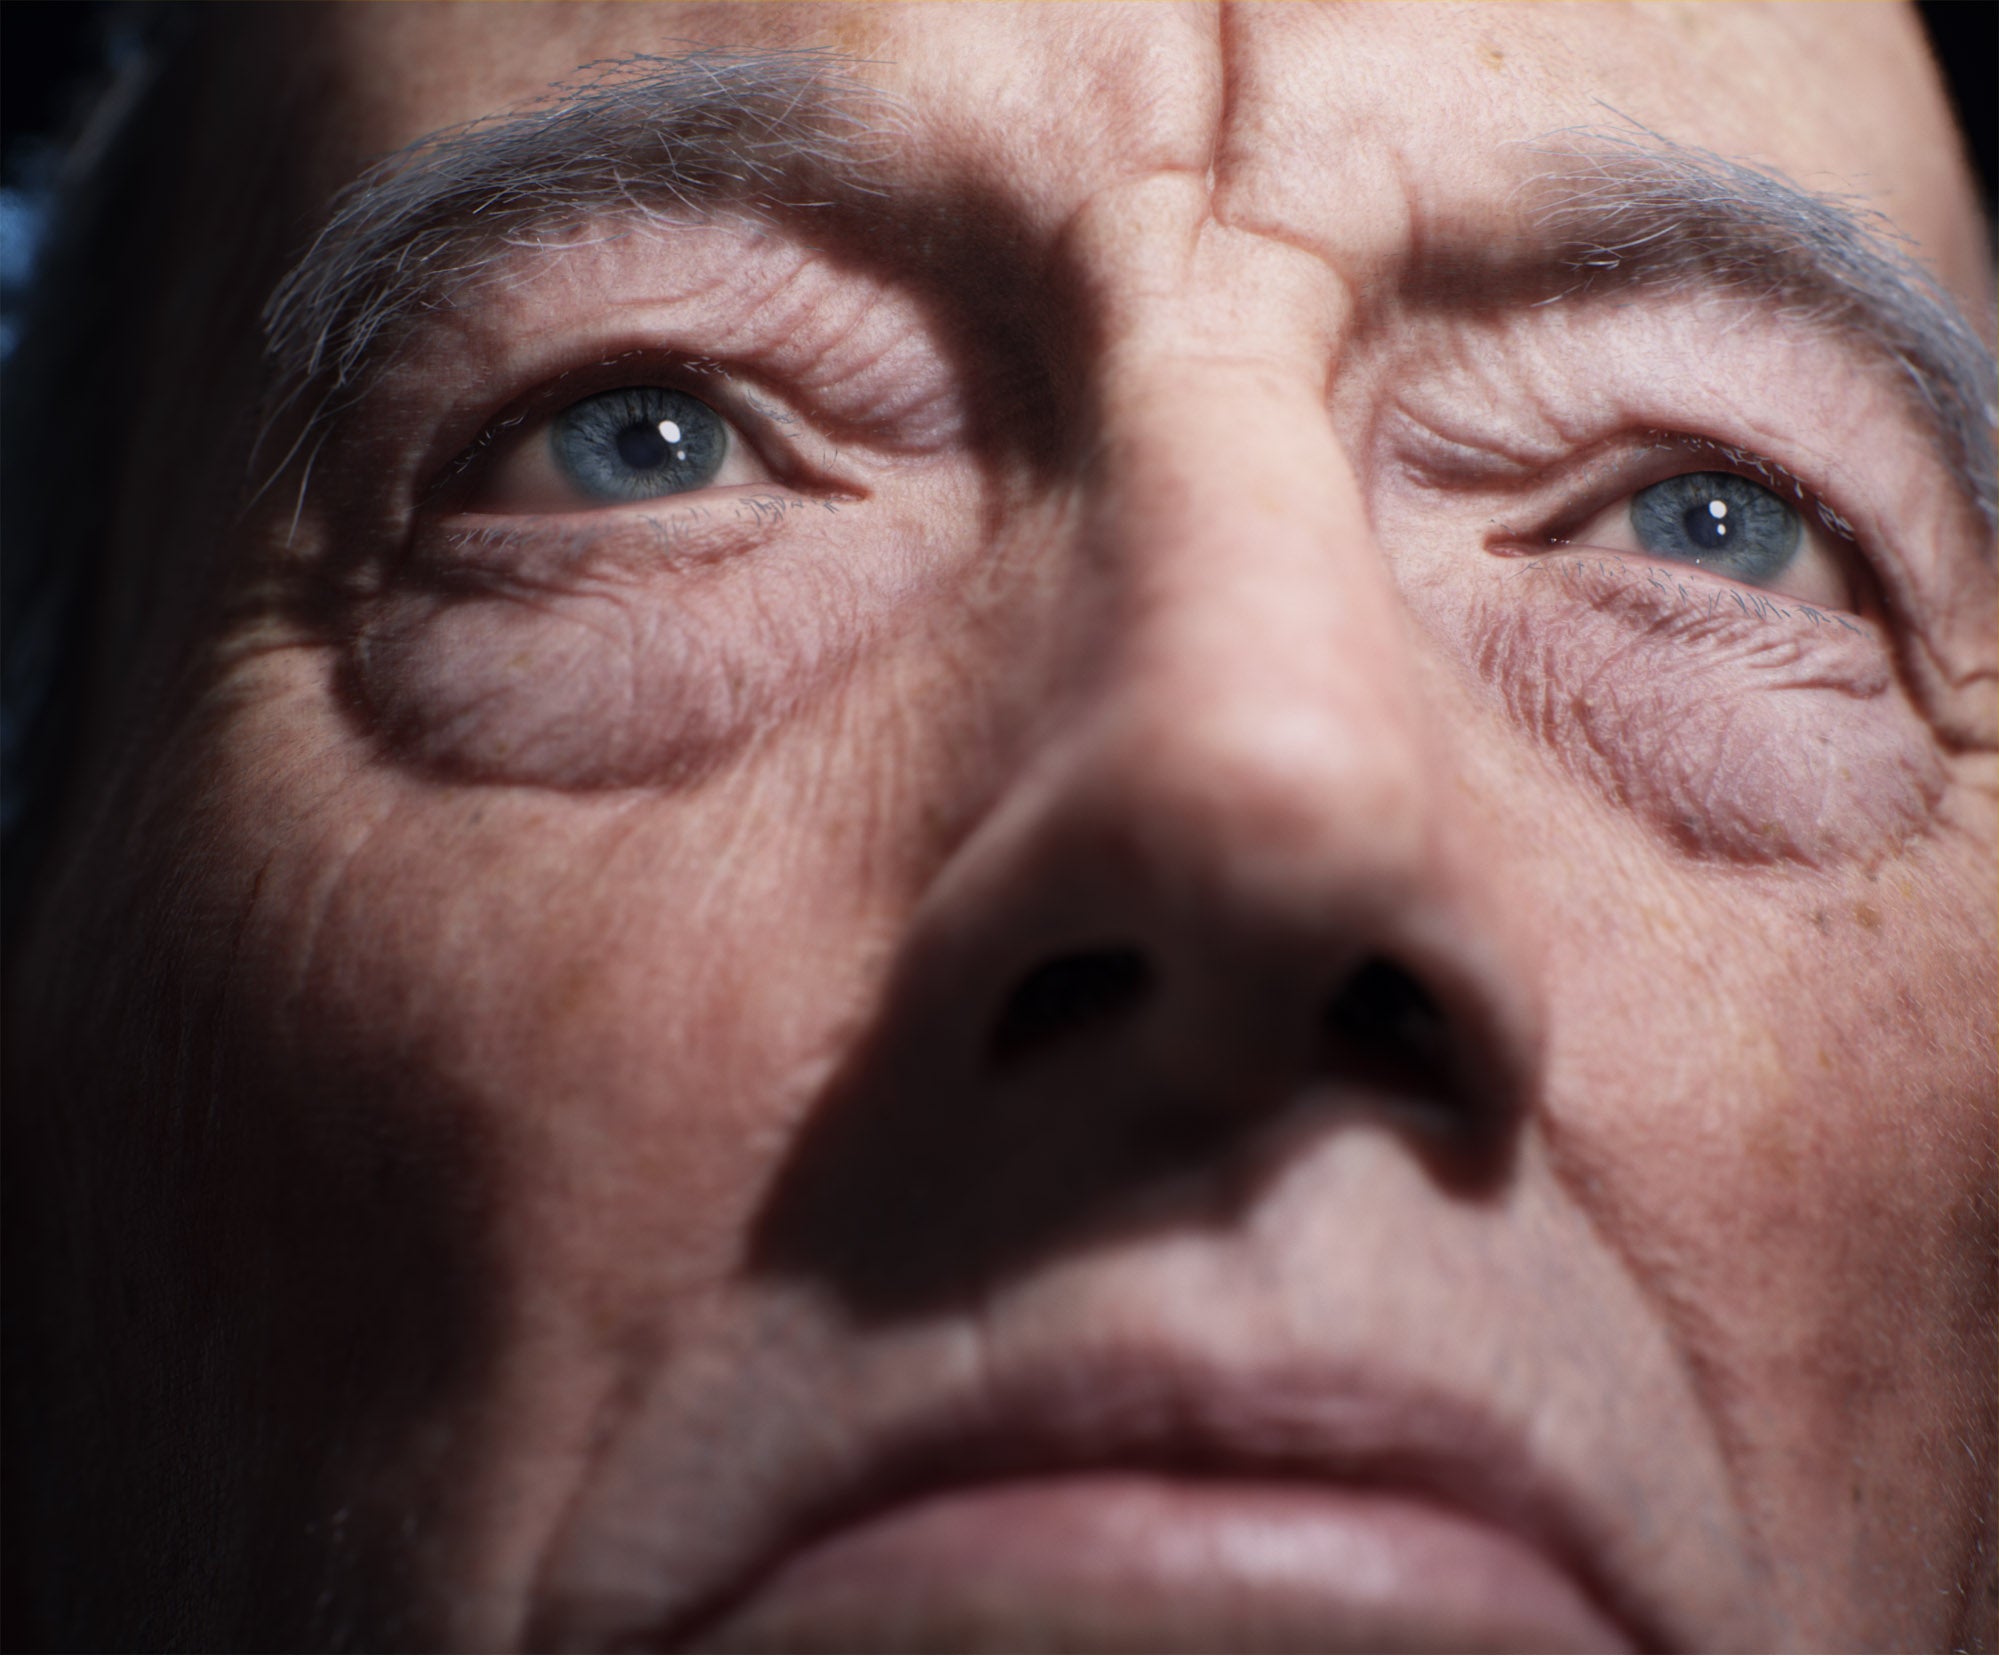
In this article, I wanted to break down my use of TexturingXYZ displacement maps in-game art. Over the past few years, TexturingXYZ has become a large part of my detailing workflow. They are rather easy to use and have allowed me to push the results I am able to achieve, as well as they are the fastest way of laying down this amount of detail.
Inspiration
The idea for this project was actually sparked at work during some conversation with some co-workers. I always like to talk to people about what they’re working on personal project-wise. I feel it’s a great way to get feedback, ideas, or some nice tips from people with some great artistic talent. Well during the binge rewatch of Game of Throne this past year I saw Max Von Sydow, and though he would be a cool person to sculpt. I threw his name down on a notepad as a potential project. Well come a little later this year I was talking with some friends, and one of those friends was taking Kris Costa’s fly on the wall course. Which was focusing on hyper-real portrait work.
The thought sparked to mind that I had wanted to do a piece using Max Von Sydow, and I ran from there. I did a little further planning and decided I wanted to push a similar style or workflow of that used in the Meet Mike Unreal project. Over the duration of the sculpt it evolved and turned more into what Max would look like now if he was recast in his role as Lankester Merrin in The Exorcist. I had a final idea and direction for the piece and went full steam ahead.
This was a different project than I had approached before. I set no real limitation on myself aside from what UE4 could handle. I wanted to try a few new techniques, while also honing some of the workflows that I’ve had over the years. That being said the workflows and used of TexturingXYZ maps are pretty common ground between here and a game production type of environment.
Tertiary Details
Over my time using the TexturingXYZ maps I have used a few different methods of laying down my displacement detail. For this project, I used the Alpha Skin pack in conjunction with the drag rectangle. I find this method to be rather effective in laying down my pores quickly, and with ease.
A constant through all my projects is the use of the layering system in Zbrush. This system is how I like to control each pass I put down on my skin. It allows for a large amount of creative and non-destructive control when authoring the tertiary detail. I usually start by having a base layer that will retain all my secondary/asymmetrical forms. I keep this as a clean layer that I can always morph back to, or use to help clean up some of my stretched projections. Next, I move into projecting my TexturingXYZ detail down.
For this process as mentioned above, I've used a couple of different workflows, and this one I think gives good results rather quickly. I usually use either the standard brush or the inflate brush with a zone alpha. For strength, I usually try to keep it a little on the stronger side. This makes it so that I can modify the strength with more range in the layer system. Once I have my detail laid down I think the next step is the most important in really making the TexturingXYZ detail sing.
I go through and add layers of noise to the model. I do this in order to really ground the detail. Following that step, I add more layers of manual sculpting. These passes are meant at unifying the mesh and the details. I usually go through with the standard and dam standard brushes and create a cohesive flow between the pore and wrinkle detail with the underlying mesh.
The real power of this workflow comes back to the layering system in Zbrush. When going through this process I do my best to break up each pass on a layer. I like to be very intentional with every layer and what it is I am adding. If it’s wrinkled I try to keep that layer purely wrinkles. When you keep everything broken up that granularly you gain a lot of control over every aspect of the model. Having this control is also great for steps to further down the pipeline such as baking out normals.
Texturing
The process of creating textures for my characters is always a place I like to have some fun. For this process, I have used a number of workflows, and luckily TexturingXYZ’s cross-polarized images are a great way to achieve realism with speed. That being said this project I didn’t use any cross-polarized textures. I focused on doing all my texturing hand-painted with use of some of the macro skin materials in Painter that TexturingXYZ helped author.

Fortunately, the use of the TexturingXYZ maps propagates all the way down to my texturing workflow. Because of the great detail they provide, I am usually able to get a pretty solid curvature map baked out of marmoset that is useful for creating a number of masks I use to help my textures look more believable.
Some of the ways I use these masks are by using the curvature to make cavity masks that will help sell the specular break up on the models surface. I also use it to push color info to my pores in the actual albedo map. TexturingXYZ maps allow for a great number of uses and are helpful throughout my character creation process.
Conclusion
The state of the game industry is in a constant push for higher and higher fidelity character realism, and TexturingXYZ is becoming a huge factor in helping push the bar. In my personal work, their maps have helped me push the standard on my work that much farther. TexturingXYZ has provided great access to a multitude of workflows making it easily accessible and very user-friendly to deliver great results. They made it possible for my work to be accomplished with quicker and higher levels of detail and realism. Just like the industry TexturingXYZ has been evolving and offer new and better resources, and I can’t wait to see where the future takes them.
Thank you TexturingXYZ for the opportunity to share my work with this great community! Thanks to everyone for reading!
| We would like to thank Jared for his helpful contribution. If you're also interested to be featured here on a topic that might interest the community, feel free to contact us! |


