Milen Piskuliyski / Making of Elf Character
My name is Milen Piskuliyski from Bulgaria. I moved to England to study Computer Animation in Bournemouth University, after which I went to work at companies such as MPC and Framestore as a Modelling and Texturing Artist.

This is a project I have been working on for a while.
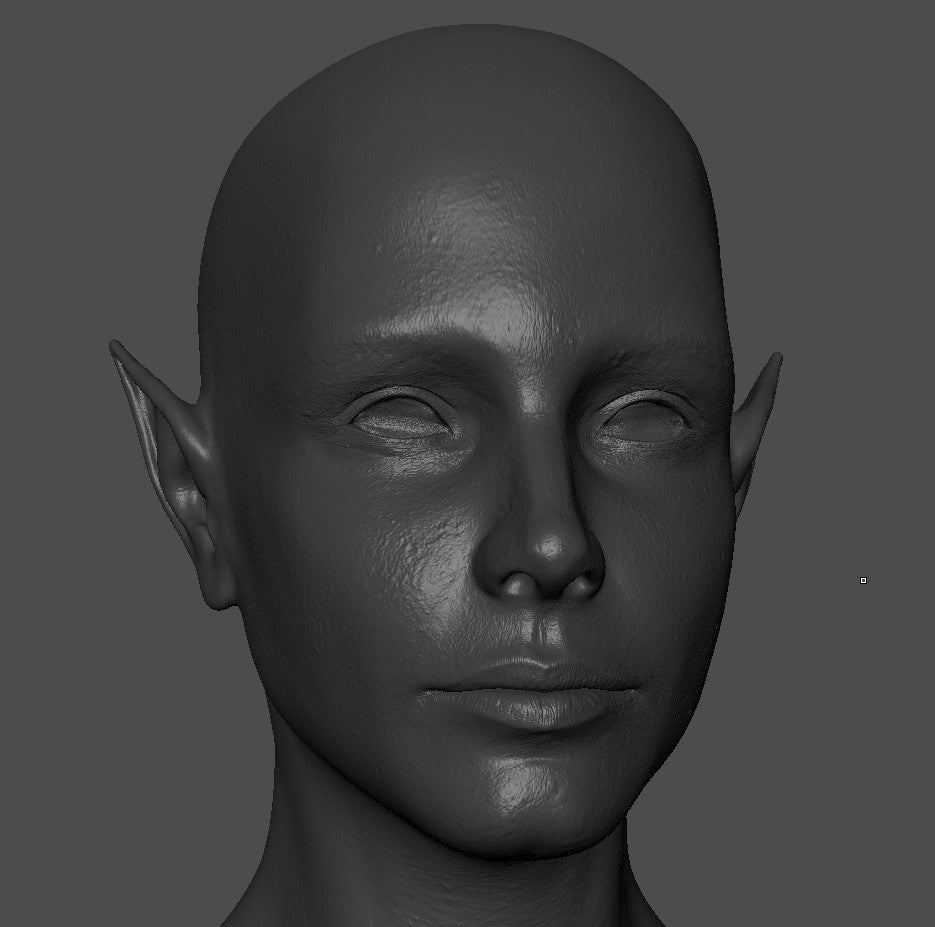
The sculpting was done in Zbrush, texturing in Mari, the hair in XGen and for rendering I used Arnold in Maya.
The ultimate goal is to produce a full CG hero character with enough detail to be able to hold up on extreme close-ups as well as full body shots.
In this tutorial I will focus on the head. I will explain my personal workflow and techniques that I have developed myself and adopted from other people. 
The workflows used in this tutorial focus on producing a full body character, so you might want to approach things differently if you're only doing a bust.
My setup has 8 UDIMs for the entire character, all of the 8K. 
Part 1- Texturingxyz maps preparation and projecting:
The first step for the texturing process is to cut and combine the maps in red green and blue channels as described in other tutorials. I always start by painting the high detailed maps in the bump/displacement channel. This will ensure that all the other maps I paint are focused around this existing detail.

I keep everything in one channel and when it comes to exporting the maps I isolate the correct map by applying a Color Switch layer and an HSV set to 0 saturation.


Even though the micro detail is just looks like a procedural noise it gives incredible breakup of the highlights, especially in close-up shots.
When everything is painted I isolate the micro detail as a separate layer and incorporate it into the secondary to keep the map count low.
I do this by placing it on top of the stack and setting it to Overlay.
Because my first renders showed that the micro was too strong I had to tone it down. I also applied a mask to paint down custom areas which I wanted to have even less micro detail.

- Tertiary map
Even on a female face with young skin, this can be observed under certain lighting conditions. Another way to get that effect would be to sculpt this pass.
I chose to use what XYZ has to offer though, as having tertiary and secondary detail in one map allows you to paint them at the same time, meaning that the multiple frequency levels will match perfectly.
This will be a lot more difficult to achieve through traditional sculpting, and possibly not to this level of realism. Having tertiary detail helps a lot with the realism. Especially under lighting conditions, as previously mentioned, where you have a light source illuminating your object at a grazing angle.
Another situation where this would benefit your model is when you have a shot other than a close up, where the fine detail is lost.
The tertiary detail helps for skin breakup and allows for the model to hold up in any distance from the camera. You should however be careful not to go too far with this. You will want to have it stronger on an older male face, for example, and less on a young female skin.
- Color map:


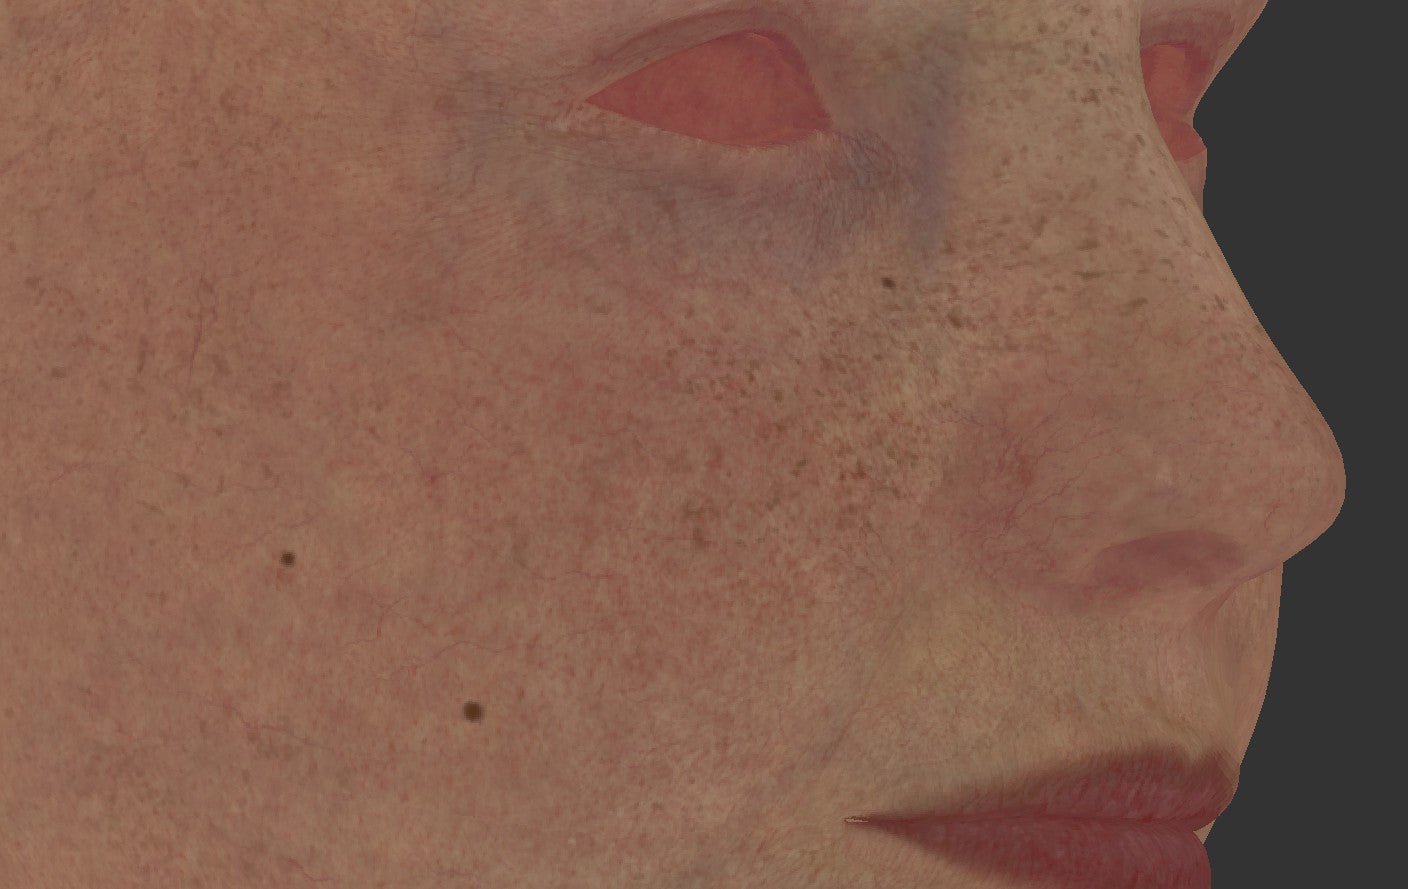
I like to paint my color map by hand in conjunction with some procedural layers, rather than project from images.
This allows me to have better control over every feature that is happening on the skin. Something I always do is to isolate the pore and wrinkle detail from the bump map and give it a more saturated and red color.
I do this by copying the secondary painted map and paste it into an empty mask stack. Then apply a Clamp and Levels, as shows in the picture.
This will ensure that I cut all the values above 0.5 (values that will push out) and then stretch the values to the full 0 to 1 range, to use as a mask.


I also do the opposite action and brighten the values slightly to give a bit of color variation and breakup.
To achieve a realistic and organic look in your color map it is essential that you study faces and identify key features and layers.
In my setup I have multiple layers including various frequencies of mottle, purple and red spots, arteries, capillaries, freckles, cold and warm hues, etc.
It is very important that you have multiple frequency features in your color map, because this will also help your model to hold up in closeups, as well as long shots.

It is also important to incorporate the pore and wrinkle detail in your specular and roughness maps. This will ensure that your fine detail is read better from a distance.
- Mudbox map extraction:


I extract a final displacement map from there and use the secondary map as bump, for fine detail. This also helps me to keep my map count down.
As my sculpt was done in ZBrush I export the highest level from there and import into Mudbox.
I also subdivide the model as much as I can for best quality.
In my case I could subdivide it up to around 60 million polygons. After some experimentation, the following settings worked well for me. I used the tertiary maps with a strength of 0.1.
Then I did another "Sculpt using map" operation with the same settings using the secondary detail map. This new sculpt layer I toned down to 0.2. I found that doing this gave me a bit more definition in the geometry and my final displacement map. In my case, however, the maps were a bit too strong around the mouth and on the cheeks, and not strong enough in others.
Going back to Mari I toned this down using a Levels layer and a mask, and bumped the other, less strong areas, using the Levels again with the opposite effect. I preferred to do this adjustment in Mari, as it allows me to manage it better. The downside is that you have to apply the "Sculpt using map" operations in Mudbox again.


To summarize the way I use the detail maps, before I go to rendering I will have one final displacement map and one bump map.
The final displacement is derived from the ZBrush sculpt, plus tertiary, plus secondary with low effect. The bump is the secondary plus adjusted micro.
Part 2- Rendering and Lighting:
For rendering I use Arnold. If this is the case with you as well, make sure that you tick "Use Autobump" when setting your subdivision settings on your mesh, as well as "Use Autobump in SSS" in your Render Settings. This will ensure that even if you don't subdivide the the model enough at render time, so that it uses the full potential of your displacement, Arnold will use the remaining detail and read it as a bump map. This will not override your custom bump map that you have prepared from your secondary detail.

 Lighting your model is imperative. You need to spend good amount of time to adjust it, because bad lighting can make even an incredible model, textures and shaders, look flat and unrealistic. Also you want to show off that high frequency detail with good highlights and shadows. I like to place my lights in such a way that they are at a very grazing angle for parts of the face. This will create a good transition from bright to dark and will cast visible shadows even from the finest detail.
Final images :


My Artstation page for this project can be found here: https://www.artstation.com/artwork/DEygE


