

Hello! my name is Safwen Laabidi. I'm a self-taught CG artist I worked for 12 years as a freelancer mostly on characters for games and cinematics also working as a lead modeler and the responsibility for research and development at D-tek studio, handling Louis Vuitton luxury products specialize in sculpting & texturing complicated hard surface modeling and photorealistic rendering. As part-time I teach character creation for games at Net-Info.
What is your personal approach and how are you connected to texturing?
My main job is character creation. I have to come up with solutions to facilitate my workflow and at the same time deliver high-quality characters with all the textures ready to be integrated into the engine or rendered for cinematics. We all know that games and films have different workflow but overall besides the micro details and udims pretty much the same at least for me. I use substance a lot along with scanned textures that provides you with everything you need as a base I’m a fan polypainting so I usually use the base texture as the first iteration and then start on making the model look close to what the client wanted, of course, I try always to keep the workflow non-destructive for future use if needed.

On your artistic journey, from the start until today, did you find other artists that inspired you, or still provide you the will to keep looking over the horizon?
At first, I struggled a lot where I come from we don’t have that many artists so I didn’t meet anybody that has the same passion as I did at first. I started making random 3d stuff with no specific focus like cars houses interior some assets but characters never I was really bad at making them and then I discovered Artsation. I couldn’t believe how many talented artists in the world and one of those artists is Vitaly Bulgarov, Glauco Longhi, Rafael Grasseti, Ian Spriggs and many others the quality of my work changed radically after seeing how much love they and focus they put in their artwork. Every day I see stunning art that makes me want to push myself and be better, help others, and motivate aspirant Artists to do the same.

What is a typical/representative day for you?
My day starts off by checking my mailbox, If I have a new task, or need to do some RnD for the studio. After that, I check if any of my co-workers would need some help and if I have free time I can keep working on my personal art which is one of the most important things for you to grow as an artist.
When I get off work, I go home or to the gym, you have to find the balance in your life or you won’t be able to continue this kind of career path.
Are there still challenges you face in your art today?
I will always face challenges, that’s what’s interesting about the kind of work. I learn new things every day, but for me one of the most challenging parts is anatomy. I’m still exploring new ways to go about creating the most realistic yet artistic characters.
Today I’m facing a new challenge and that is animation. Recently I started working on a character, she will be fully animated with all the dynamic part moving in real time. This is new for me but in the same time exciting to see the final result. Challenges are how you know you’re evolving as an Artist.
Breakdown : how to create a face for facial animation

Part 1: Creating the face


Part 3 : Modeling unwrapping and texturing the eyes.
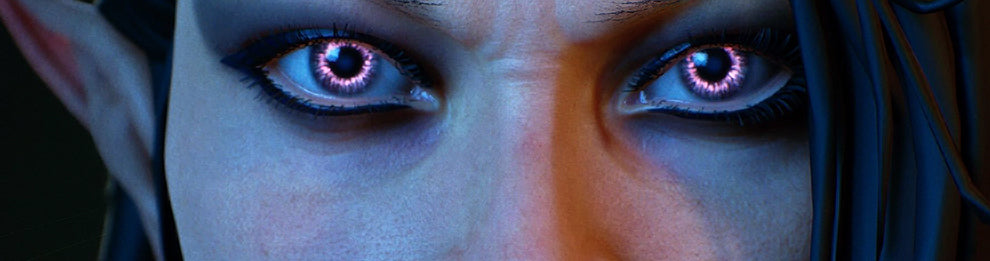
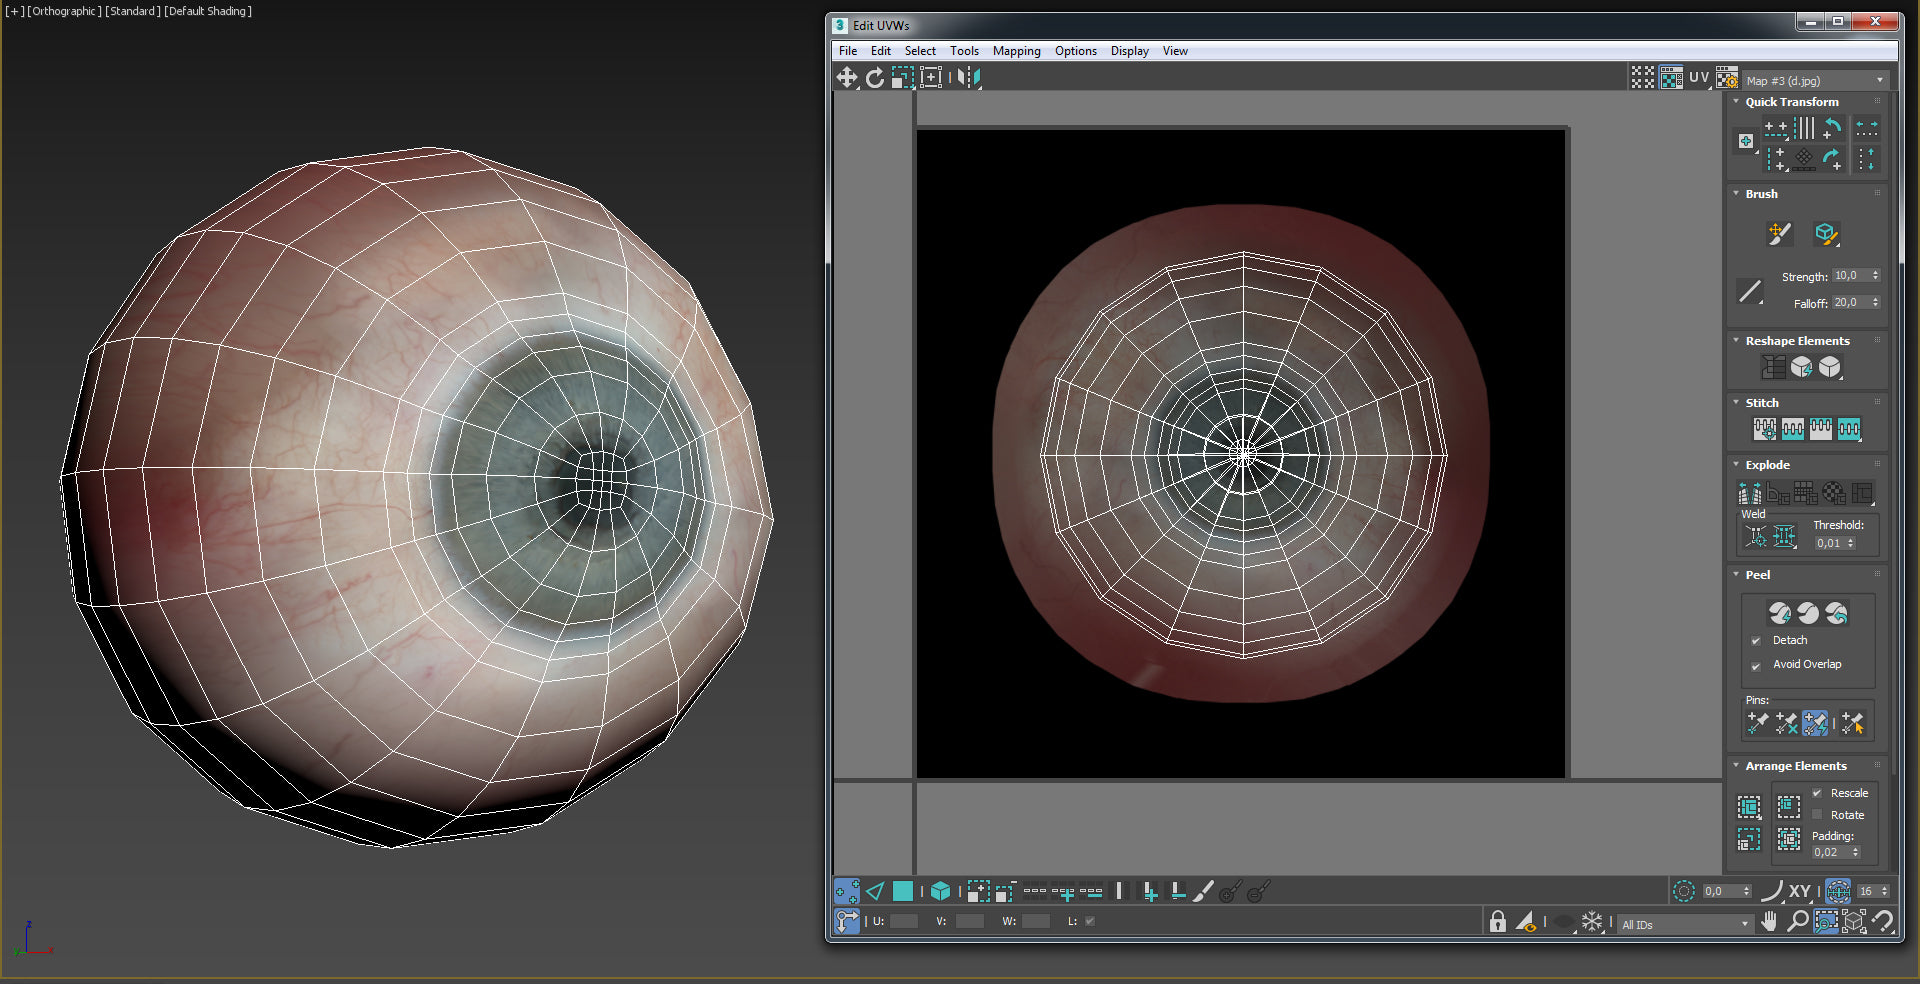
Usually modeling the eyes will be pretty close to how the eyes looks in real life. You would model 3 or 2 separate geometry to simulate the sclera and the iris but for this, I made the eyes based on the digital human project provided by epic games.

One very important thing is that you need to follow the exact uvs that epic game did in their example to have the shader working properly in unreal engine.


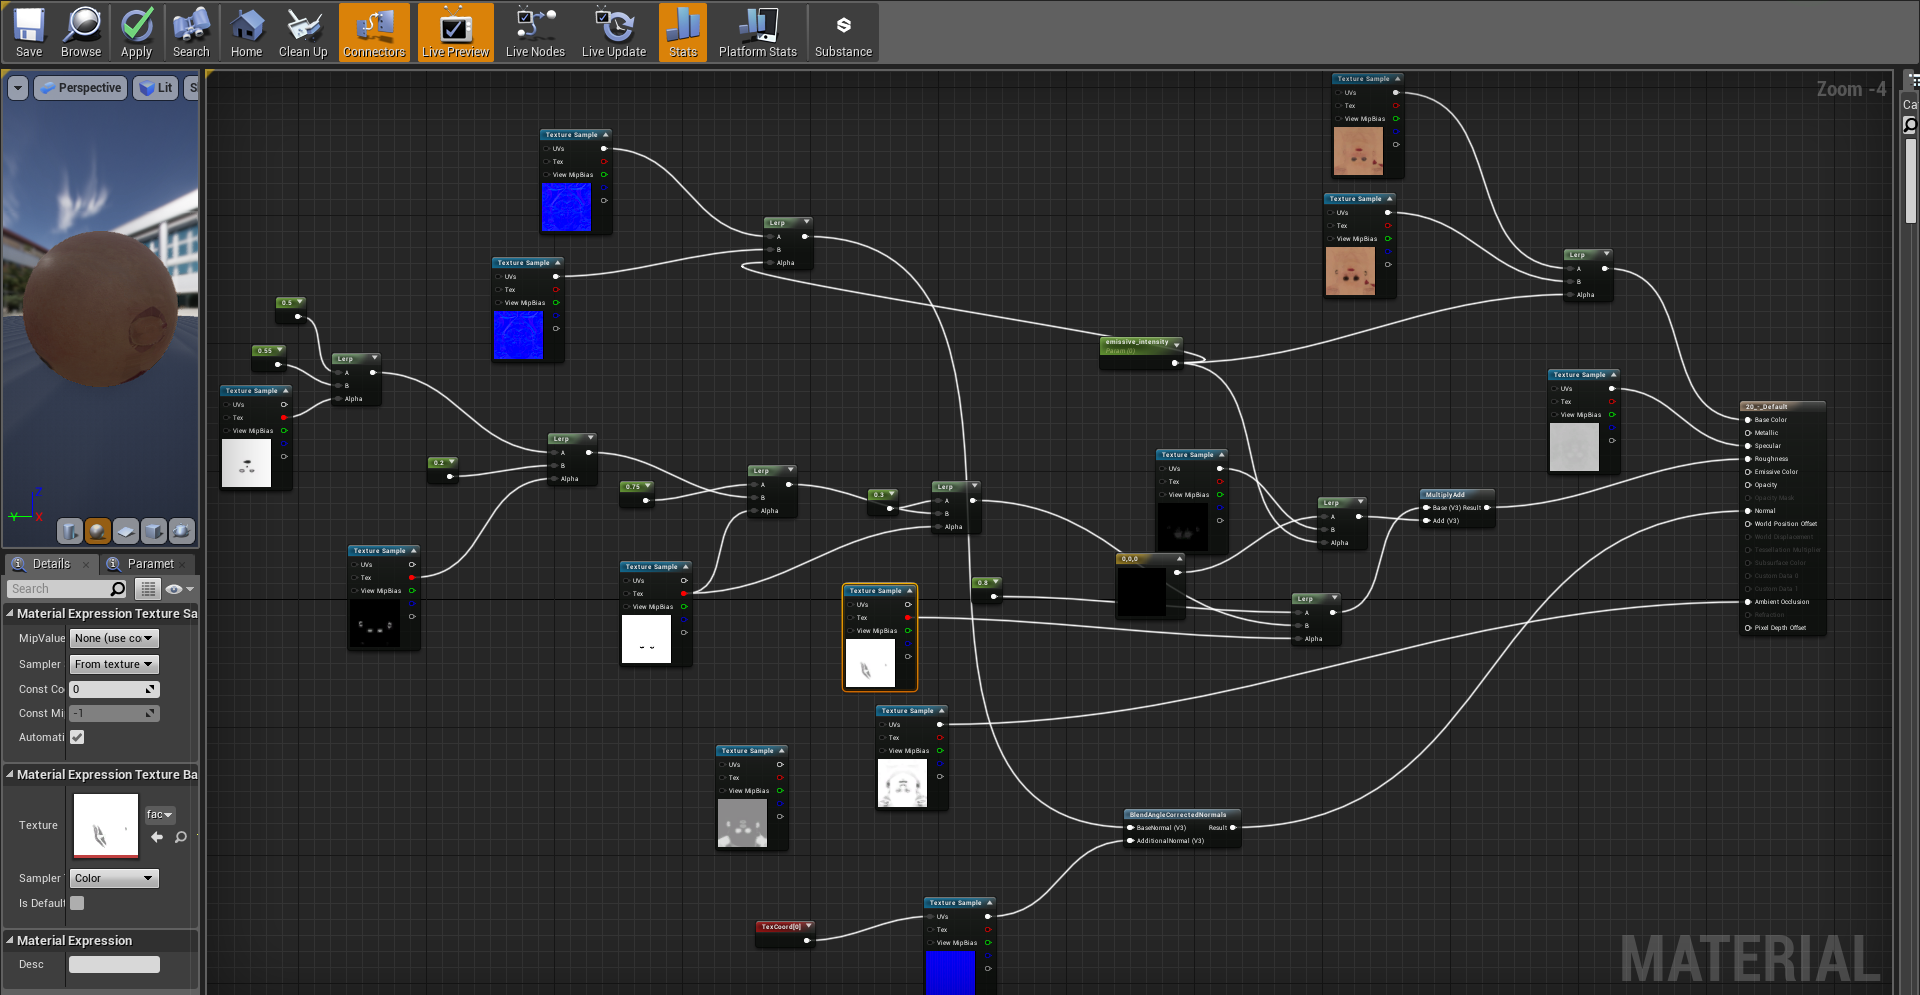
Now for the texturing in Substance. Before I exported the maps to substance. I fixed some of the error in photoshop just to have a clean texture with no eyelashes or hair cover using the clone tools and some small color correction. I only worked on the base color in Substance, the reason for that is I wanted to extract the roughness and ambient occlusion from the normal map in unreal engine. That way if i have wrinkle maps it will update the roughness in real-time. The last thing I did was to add the transformation effect so I can lerp it in unreal later when I export the animation.


Note : Morph targets is the same as blendshapes it just depends on which software you use
I start off by exporting the face to zbrush to make the FACS. One thing that can help you make good believable expression is this book called (Anatomy of Facial Expression).
Now that I have the model in Zbrush, I can start making blendshapes. Depending on which technique you’re using for facial capture, the number of expressions will change. I’m using Facecap app for the iPhone X so I have to make about 51. You don’t have to create all of them just create whatever suit you’re animation needs the missing ones won’t be animated.


To record the animation all you need is the iPhoneX and the face cap app.
After you finish the recording you just click on the share recording button then you can mail it to yourself. You’ll get 2 files one .wav file and FBX file that you can import to any of your favorite 3d packages.

To get your animation working in unreal is very simple all you have to do is click the import button and check all the necessary option in the importer as you can see below in the screengrab.


Since I saw the multichannel pack pretty much all my characters used texturing xyz. In the future, I’m going to buy the fabric and fold pack to fit that into my workflow.
The software I use are ZBrush, 3ds max, Substance painter and designer, marvelous designer, unreal engine & Vray.
For those who are using the texturing xyz maps stop rushing your work to get to the detailing phase make sure your main form is correct to get the anatomy, structure and the general silhouette, then add the maps that way your work will be complete.
How did you first learned about TexturingXYZ? Did you have any specific reaction to it?
How do you picture the industry in 5 years? Do you feel any tendencies or boundaries that could exist?
From what I’ve seen so far everything is going real-time and procedural nobody wants to redo work that can be fixed with just a click so I really think even films and animation will go full real-time not sure when but sure it will be the only boundaries is that of your imagination.
Would you like to add anything to this interview.
I would like to thank my mom, my wife, and my friends who supported me and believed that I can do what others think I couldn’t. Special thanks to the Texturingxyz team for making our life easier and let us focus on the Artistic side of texturing.
| We would like to thank Safwen for his work and helpful contribution. If you're also interested to be featured here on a topic that might interest the community, feel free to contact us! |